

Using the general properties and scheduling options of the forecast configuration page, you can define a forecast model by specifying a hierarchy and timeframe.
To enter configuration and scheduling information
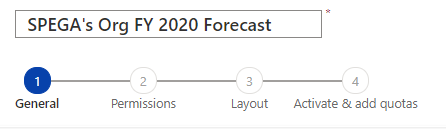
- In the General step, enter a descriptive name for the forecast. For example, SPEGA’s Org FY 2020 Forecast.
NOTE:
By default, Rollup entity is configured as Opportunity. This value can’t be changed.
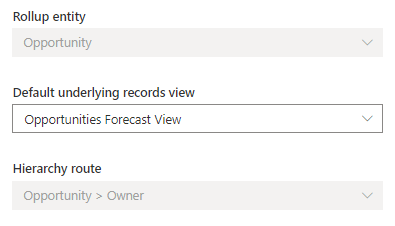
2. Choose a Default underlying records view. This is the default view used when users select a row or a cell of the forecast to view its underlying opportunities.
Hierarchy route is configured based on the template that you’ve selected. This determines how the forecast will roll up through your organization. The following Hierarchy routes are predefined:
| Template | Hierarchy route | Description |
|---|---|---|
| Org chart forecast | Opportunity > Owner | The forecast hierarchy is defined based on the organizational hierarchy. |
| Territory forecast | Opportunity > Account > Territory | The forecast hierarchy is defined based on the territory hierarchy. |
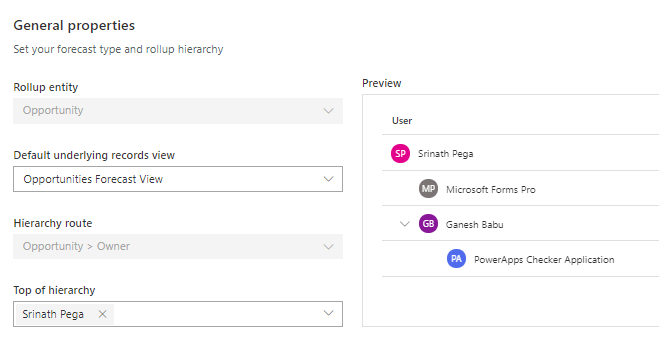
3. In the Top of hierarchy list, choose the user or territory that’s at the top of this forecast hierarchy.
When the hierarchy route is Opportunity > Owner, the top of the hierarchy lists all active users in your organization. You can then select a user from the list to be displayed at the top of the hierarchy.
For example, Srinath Pega, a sales director, is looking at a forecast based on the Org chart template. He wants to see a forecast for his team, so he selects his name as the top name in the hierarchy. After Kenny makes his selection, he can see a preview of the full hierarchy in the rightmost pane.
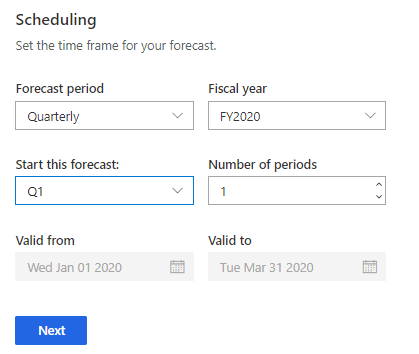
4. In the Scheduling section, specify the following information.
| Parameter | Description |
|---|---|
| Forecast period | Select whether the forecast is to be generated monthly or quarterly. By default, Quarterly is selected. You can schedule the forecast up to one year. |
| Fiscal year | Select the fiscal year for the forecast. This is populated based on the organization’s fiscal year settings. |
| Forecast starts at | Select the time period to start forecasting. If you select the forecast period as Monthly, select the month you want to start forecasting. If you select the forecast period as Quarterly, select the quarter you want to start forecasting. |
| Number of periods | Enter the number of forecast periods to be generated. You can only create forecasts that span up to one year. Note: If you set the Forecast period to Monthly, Fiscal year to FY20, Forecast starts at as January, and Number of periods as 4, the generated forecasts will be grouped by four months: January, February, March, and April. In such a case, the forecast start and end dates will automatically be set to January 1, 2020 and April 30, 2020, respectively. |
| Valid from | This field is read-only. It identifies the date the forecast starts. |
| Valid to | This field is read-only. It identifies the date the forecast ends. |
5. Select Next.

2 thoughts on “Sales Forecasting: Define general properties and scheduling”