
Introduction
Virtual tables enable integrating data from external data sources by seamlessly representing that data as tables in Microsoft Dataverse, without data replication. Solutions built on Microsoft Power Platform can leverage virtual tables as if they were native Dataverse tables.
A virtual table is a custom table in Microsoft Dataverse that has columns containing data from an external data source. Virtual tables appear in your app to users as regular table rows, but contain data that is sourced from an external database, such as an Azure SQL Database, SharePoint, etc. Rows based on virtual tables are available in all clients including custom clients developed using the Dataverse web services.
In the previous blog, we learn about the installation of a Virtual Connector Provider to the Dataverse Environment in Power Platform.
In the previous blog, we learn about the connection for Share Point and Connection reference.
Creation Of the Data Source
In this blog will learn about the creation of the Entity Catalog for SharePoint in Dataverse.

Entity Catalog
Entity Catalog is automatically generated. The Entity Catalog is specific to the data source and will list all the tables that are in the respective data source.
Note
- The creation of the entity catalog is an asynchronous process. Depending on your environment, this may take a few minutes.
- The tables displayed in the entity catalog are not virtual tables in themselves. You need to select from this list of tables representing the external data to create the virtual table in Dataverse.
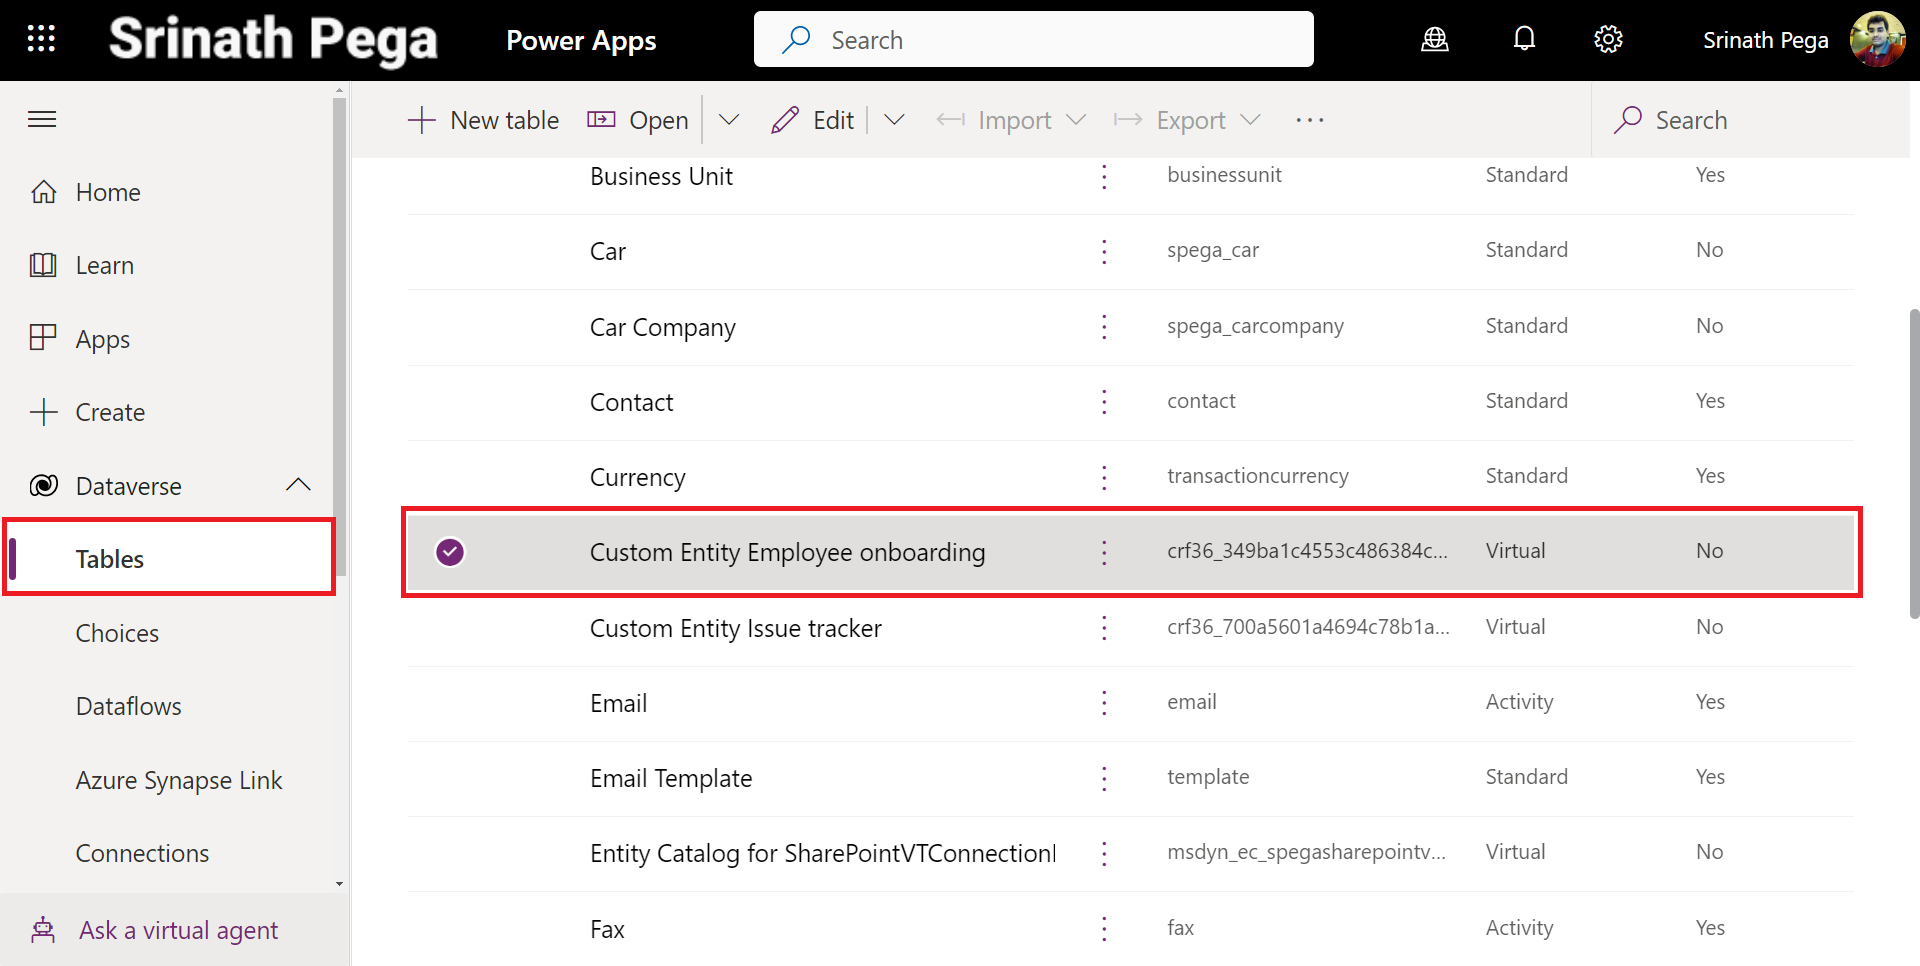
- Go to Microsoft Power Apps Portal.
- Select Dataverse and Click on Tables.
- Search for Entity Catalog For Followed by Connection Reference.

4. Open the Entity Catalog Custom table.
5. Click on Create an app.

6. Give the Name of the App, and Click on Create.

7. Publish the App and Play.

All eligible data sets from your data source will be provided in the app view.
- SQL: All tables in the database that are eligible are shown.
- SharePoint: All lists in the site are shown.
- Excel: All tables in the Excel file are shown.
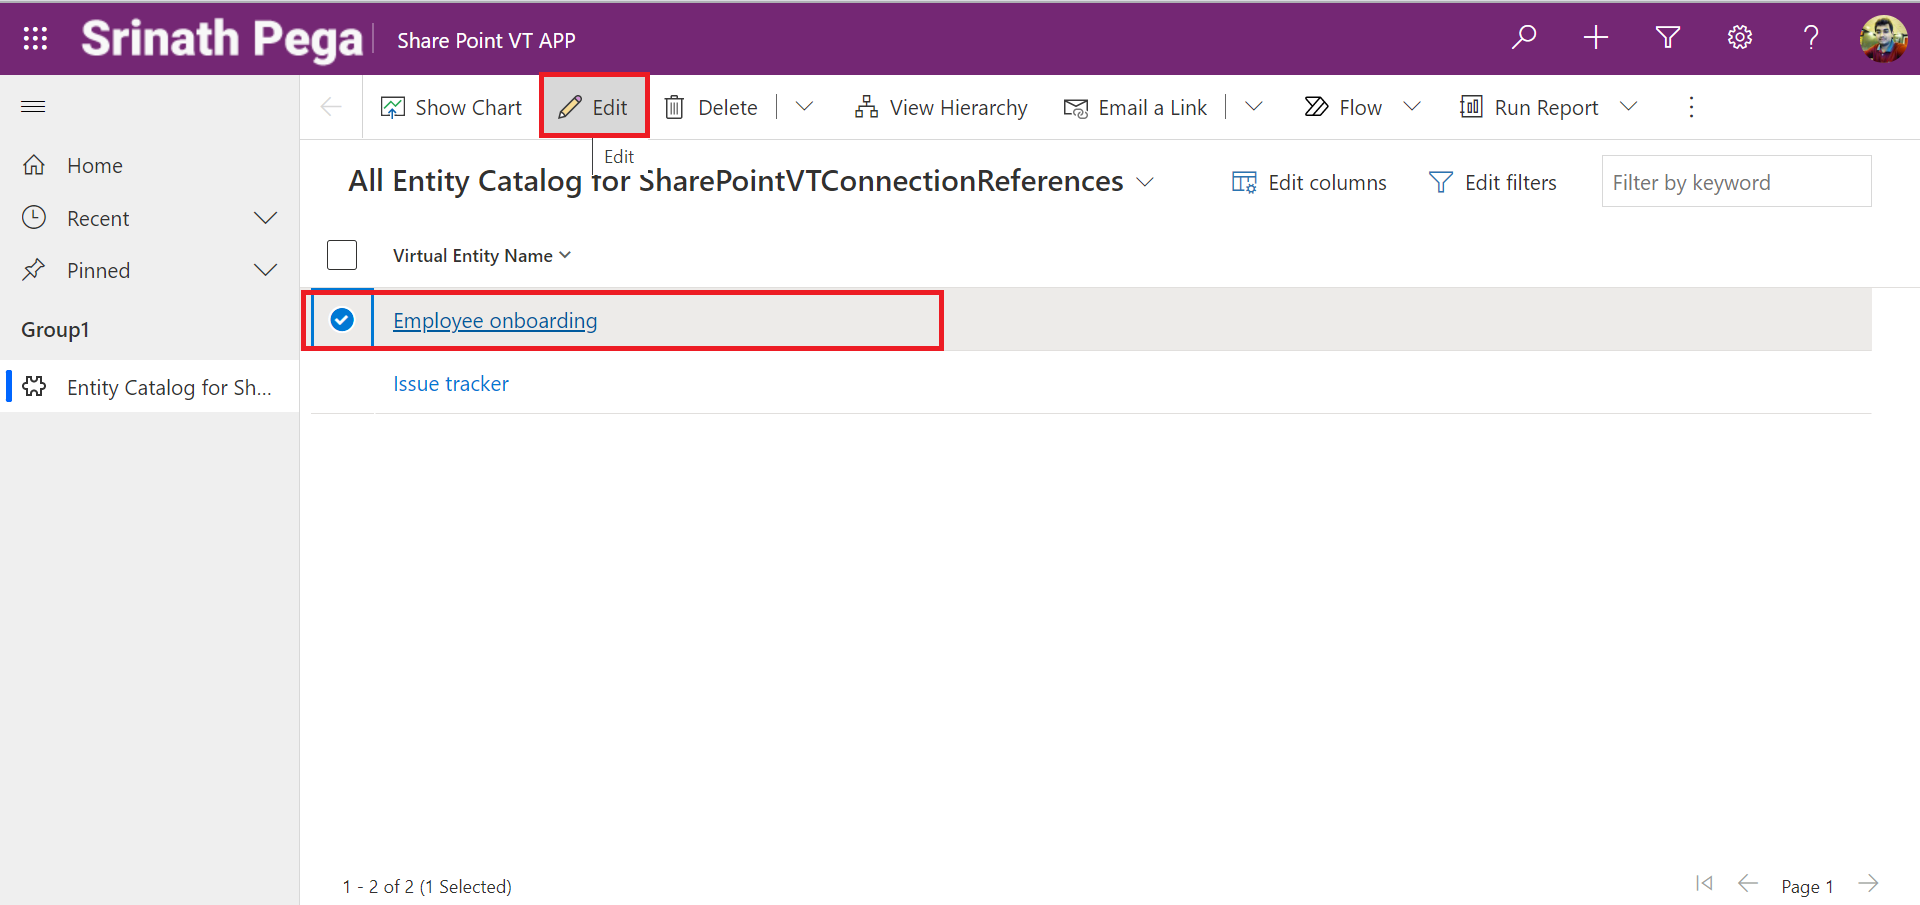
8. Select the Sharepoint list and Click on Edit.
9. set the Create or Refresh Entity column to Yes.
10. Select the Primary Key and Primary Field of the virtual entity by using the dropdown lists to find the columns you want to use.
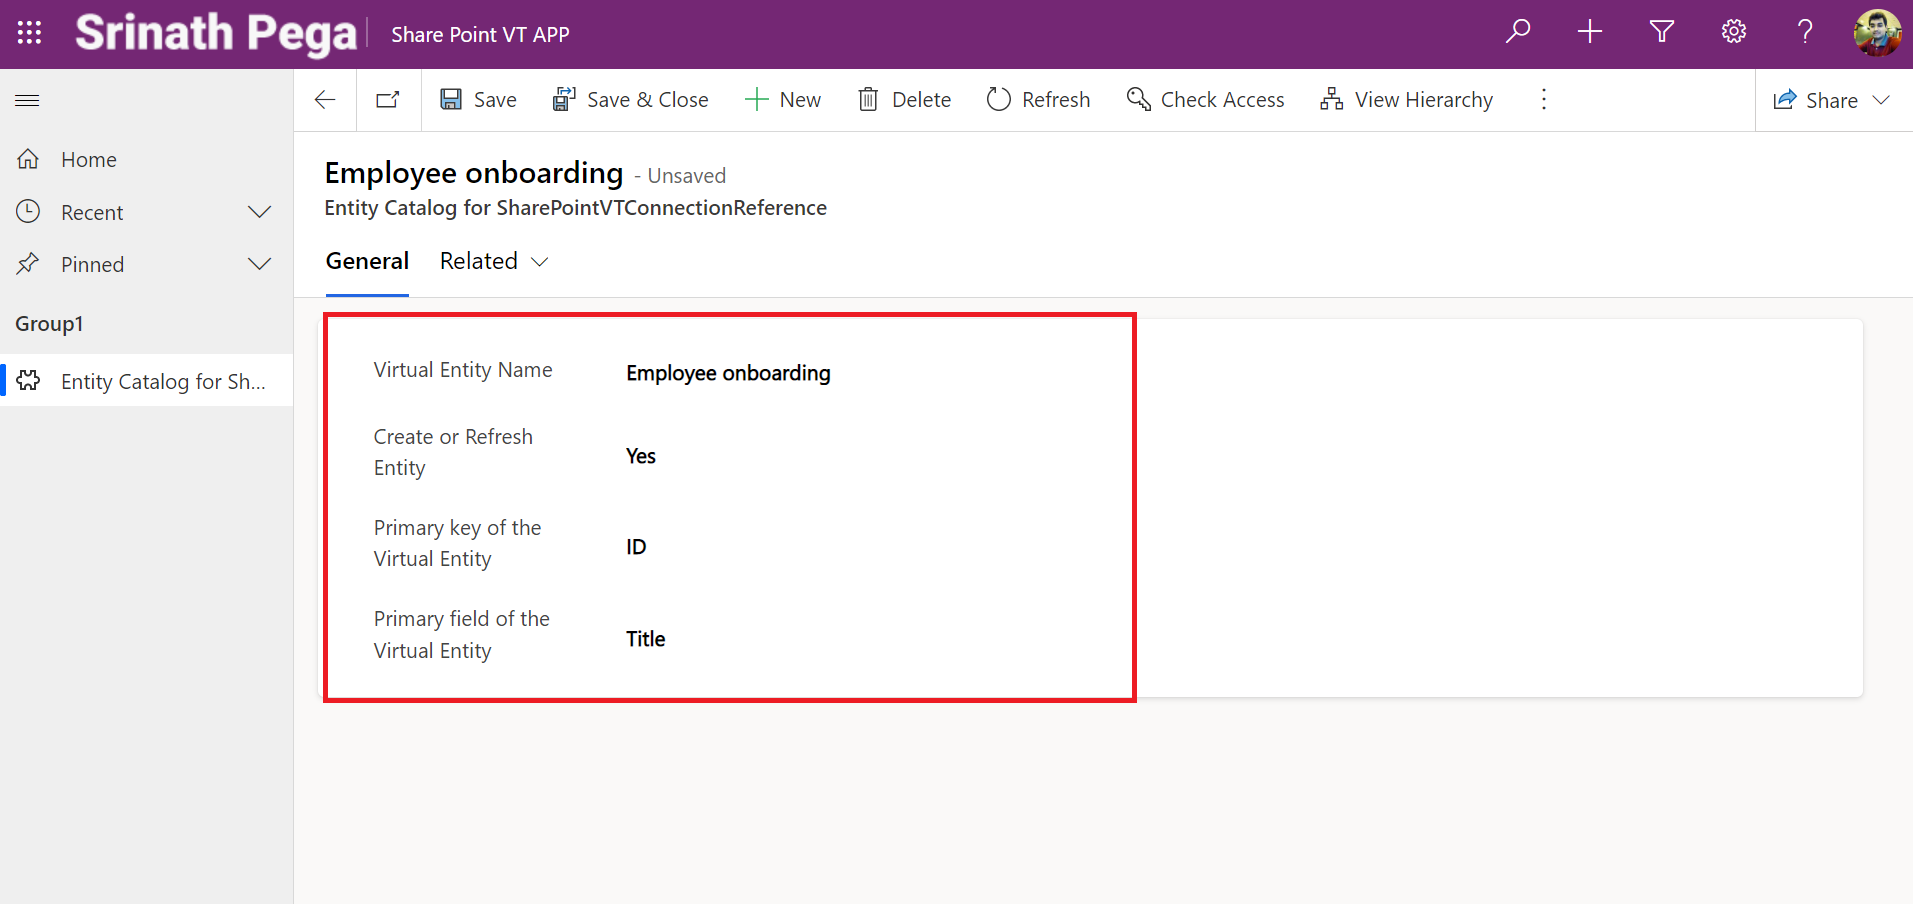
10. Click save to Create the Virtual Table in Dataverse.
NOTE: After the save completes, the form will “reset” with all fields shown as blank, this is normal.
Hope you learn something, Thanks for Reading 📖!
Happy Power365ing!
