
The Dynamics CRM 2016 SDK contains a plugin sample. The code is located here: SDK\SampleCode\CS\Plug-ins\AccountNumberPlugin.cs
I’m going to go through step by step how to create this plugin and upload it to Dynamics CRM, then how to debug the plugin. In the example I will connect to a Dynamics CRM 2016 Online instance.
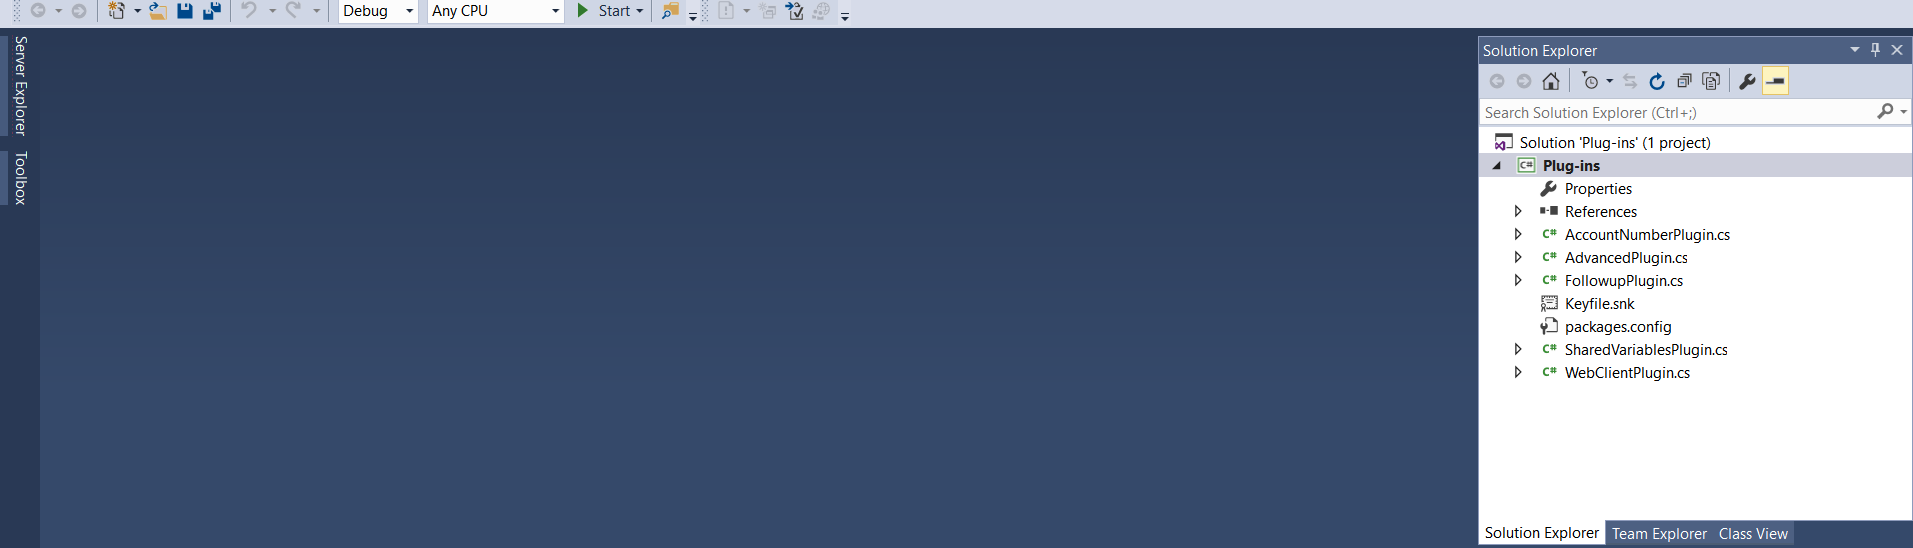
Firstly, open and build the sample plugin solution in Visual Studio:
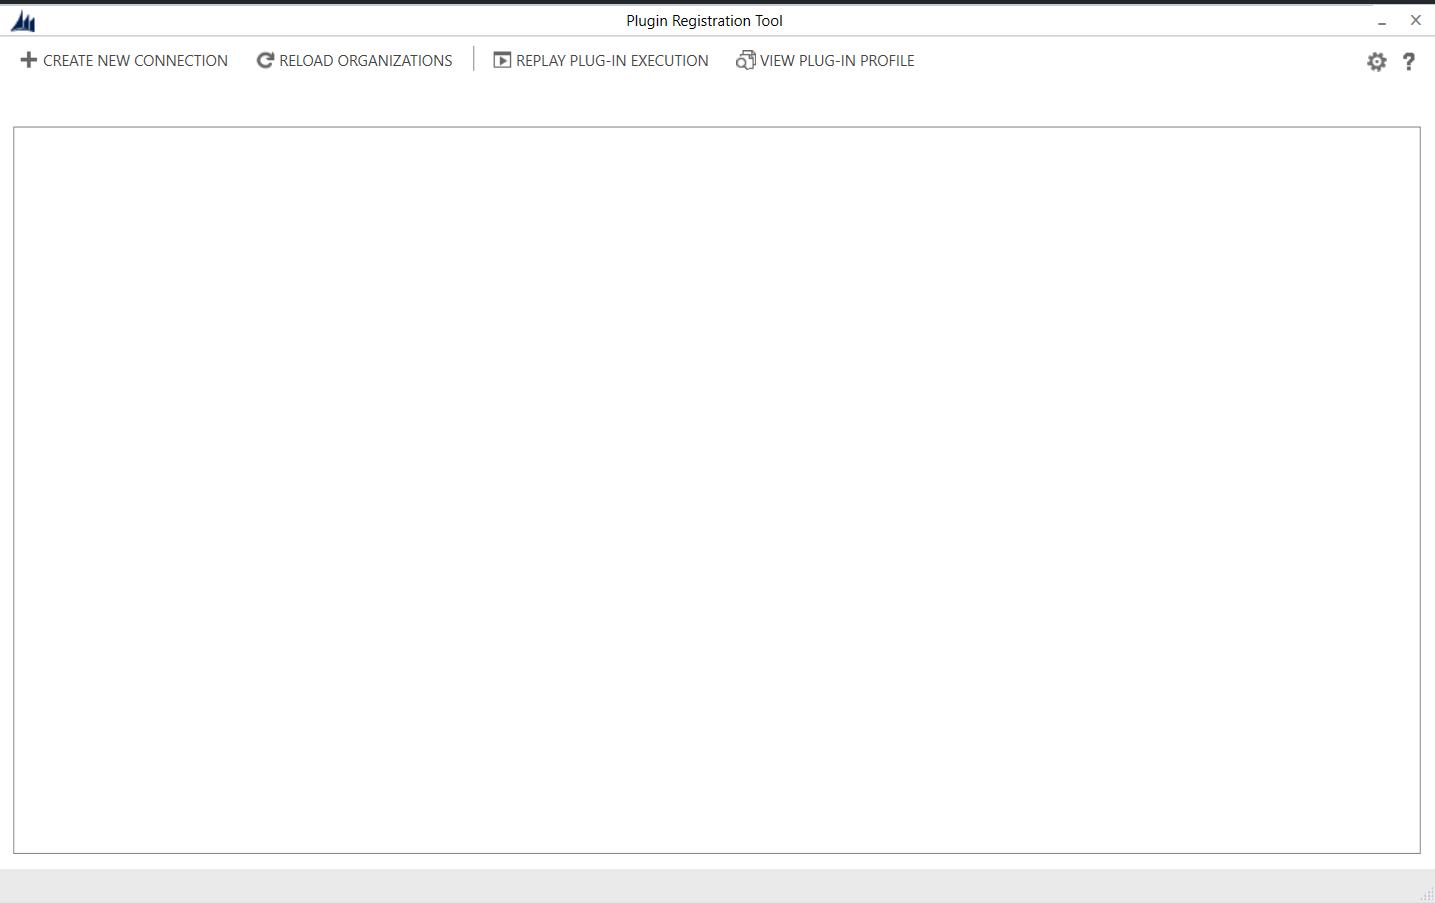
Next, open the plugin registration tool. This is located here: SDK\Tools\PluginRegistration. Double click the PluginRegistration.exe file:
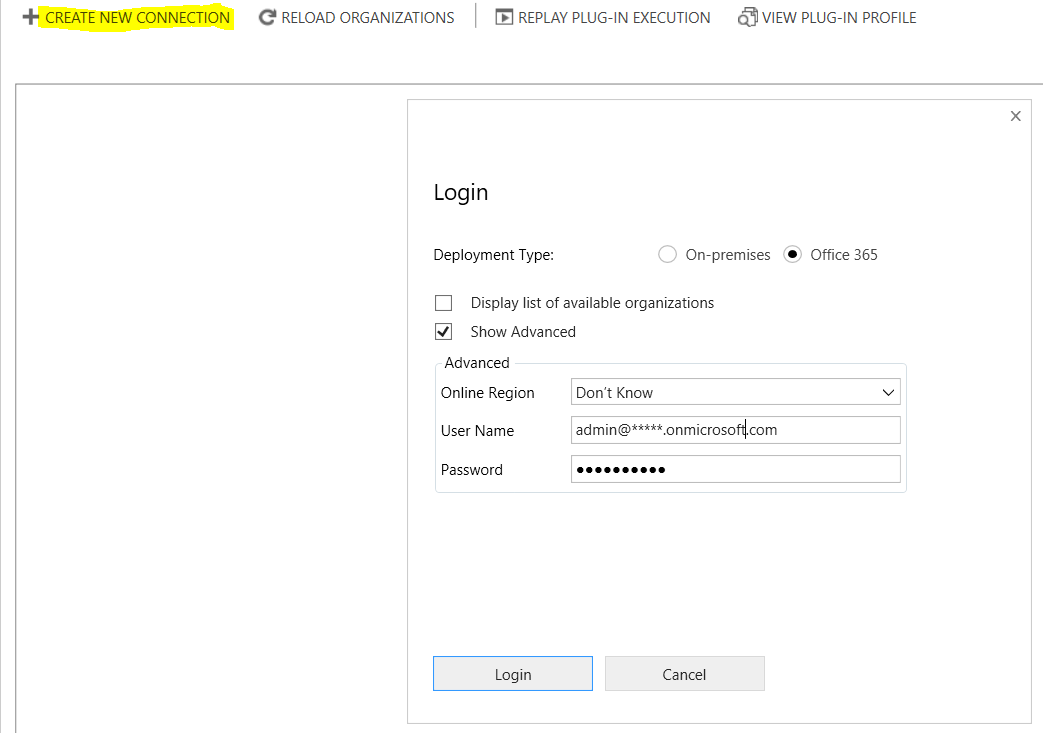
Next, click Create New Connection enter credentials to connect to your CRM instance. Below I am connecting to CRM Online. Click Login:
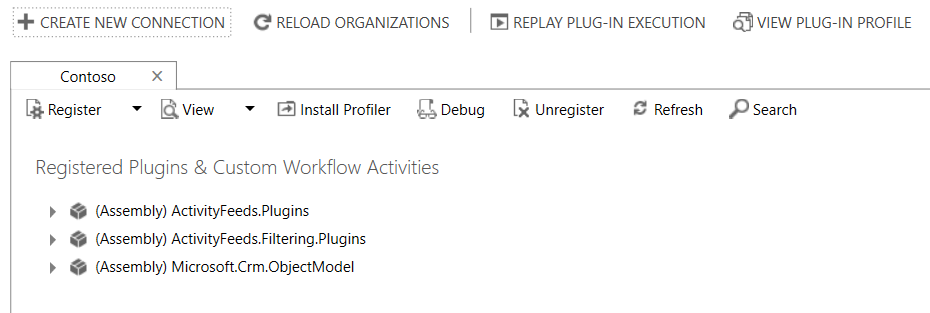
You should now see a list of plugins registered in your CRM instance:
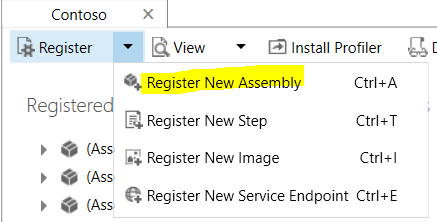
Click Register->Register a new Assembly:
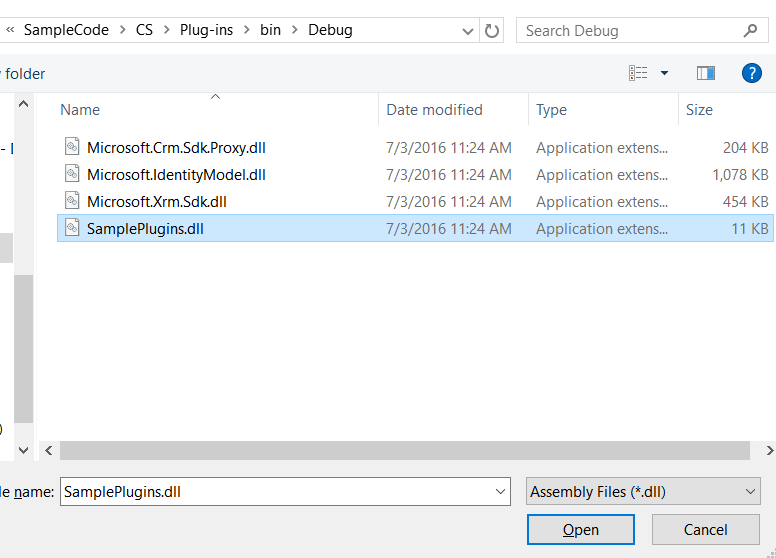
Browse out to the sample assembly created above.
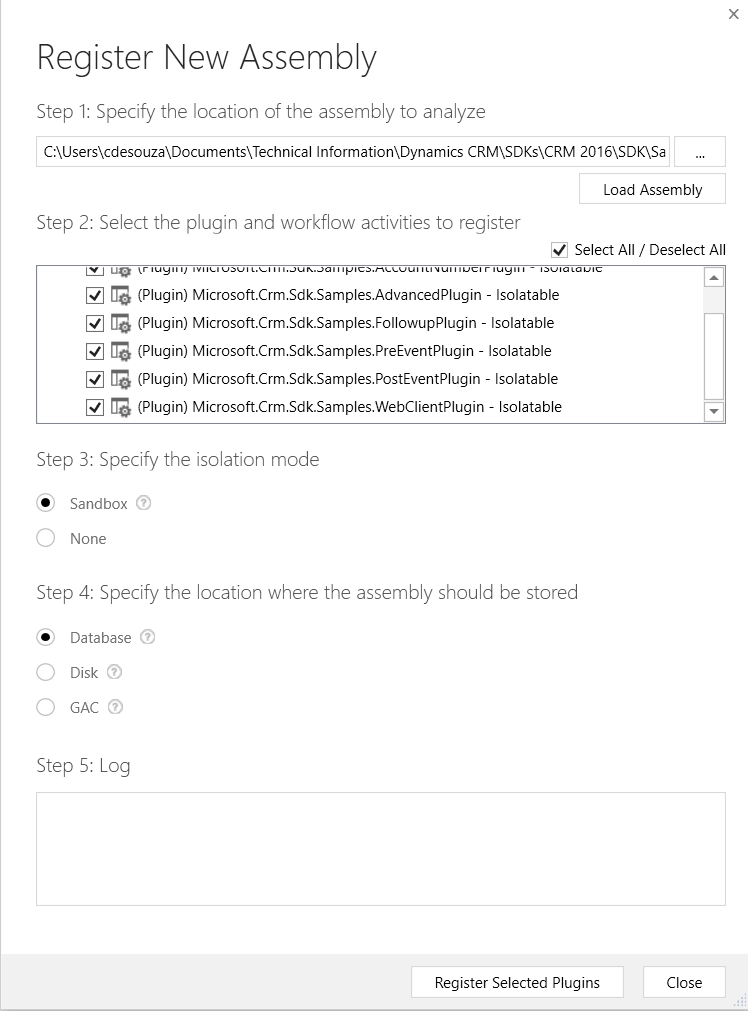
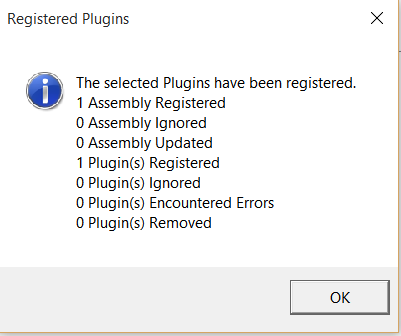
You should see something like this if successful:
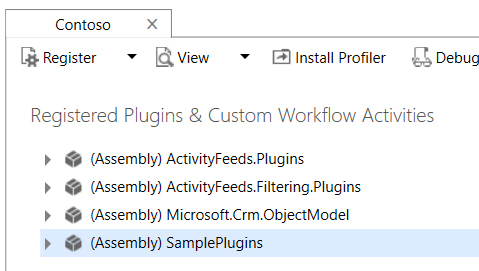
The plugin now appears in the list:
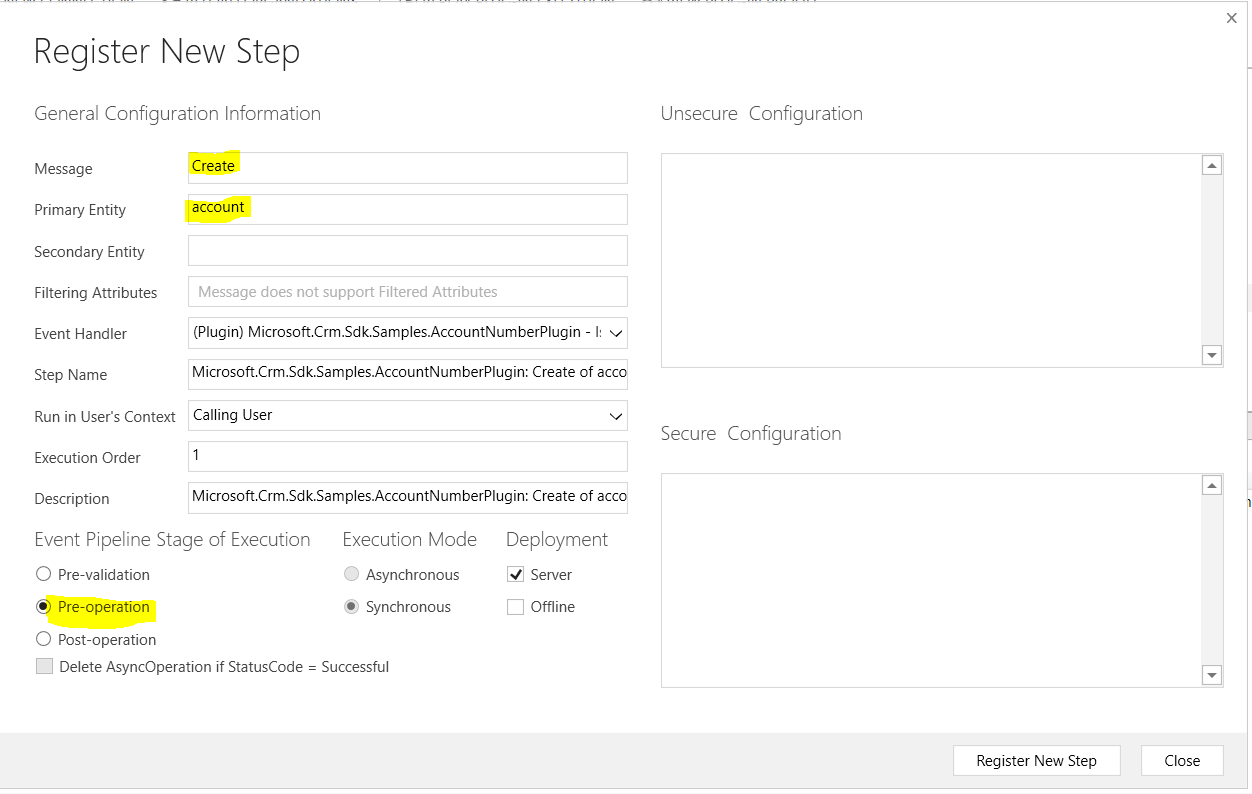
Next, register a step. Select the plugin, right-click and select “Register New Step”:

Select the message as “Create”, the entity as “Account”, and the Event Pipeline Stage of Execution as “Pre-Operation”. Click Register New Step:
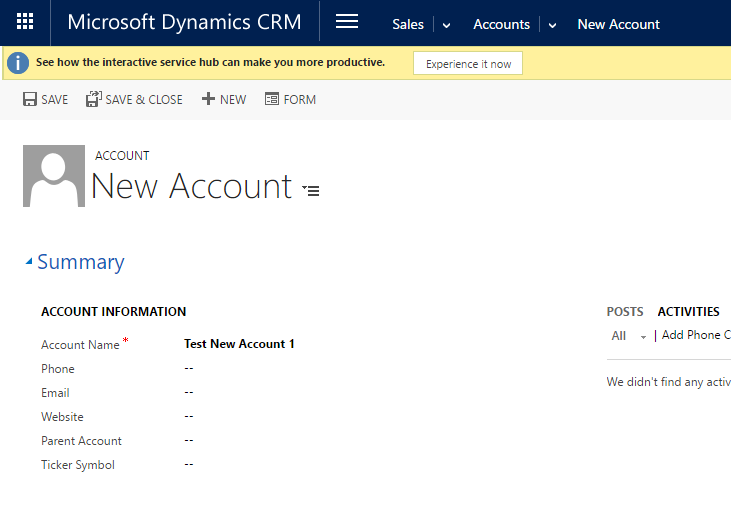
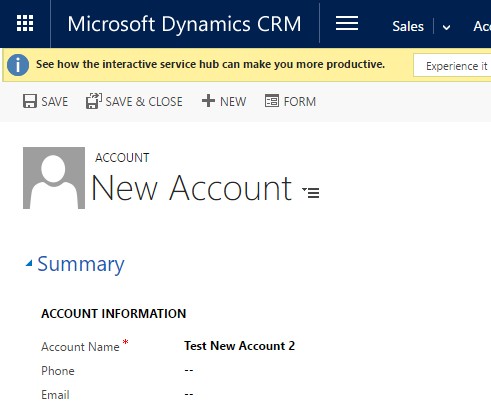
In CRM, create a new account record:
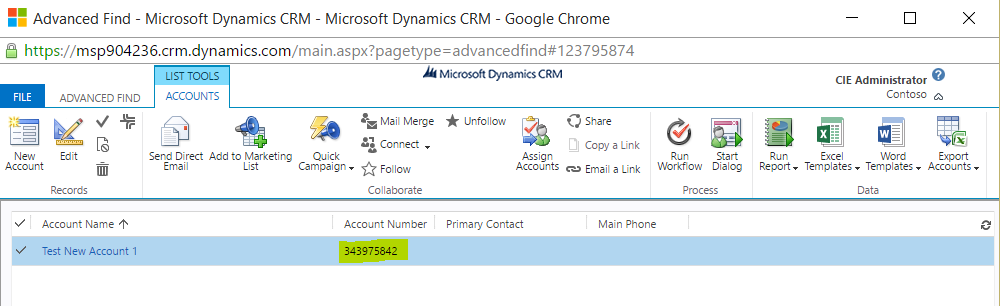
View results – Account Number has been populated:
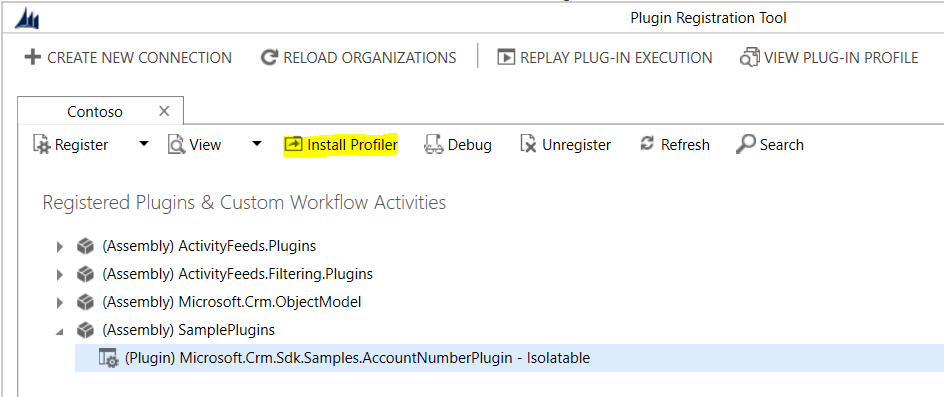
To debug the plugin, first select Install Profiler:
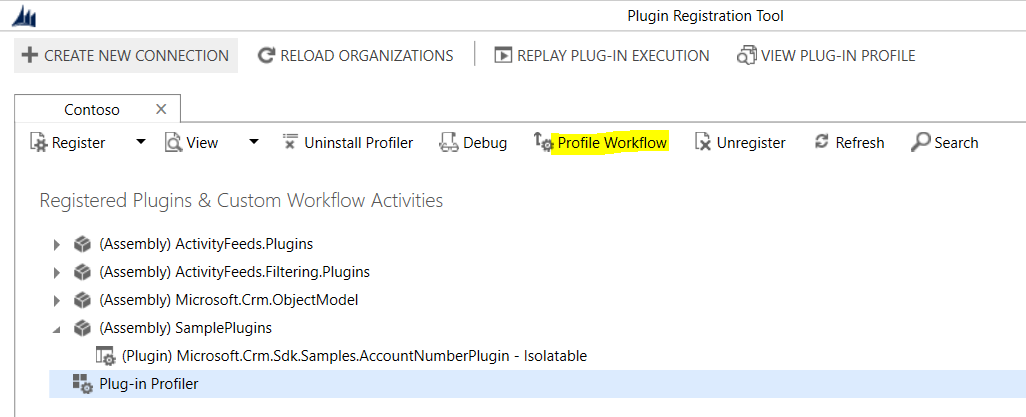
Once installed select the plugin profiler and click Profile Workflow:
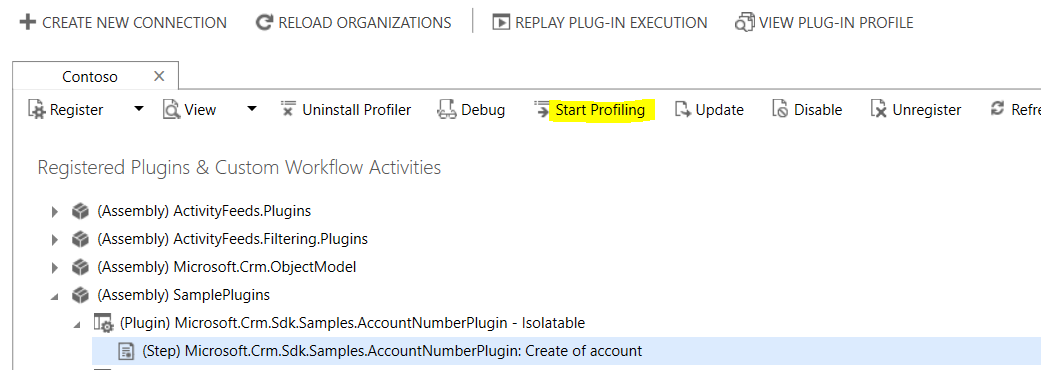
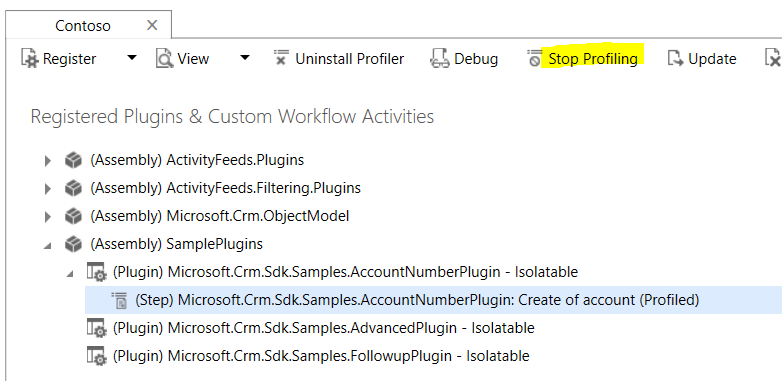
Select the step and click Start Profiling:
Enter a new account and save:
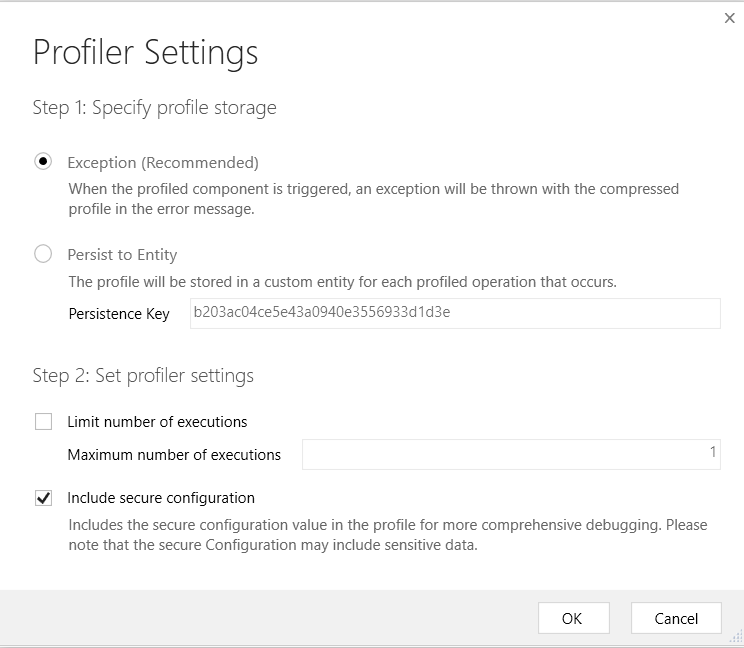
On saving, you will see the following message:
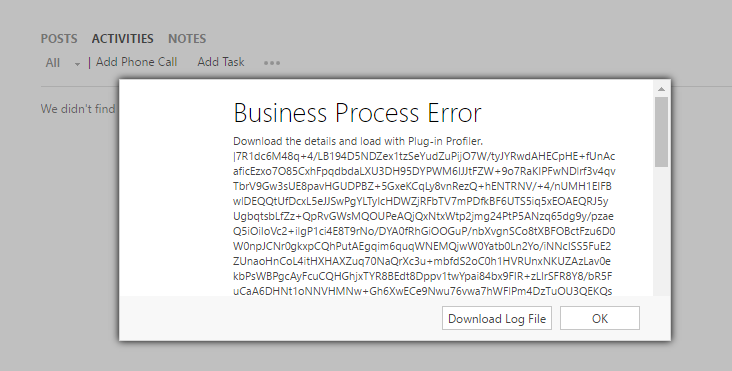
Click Download Log File.
Select to Stop Profiling:
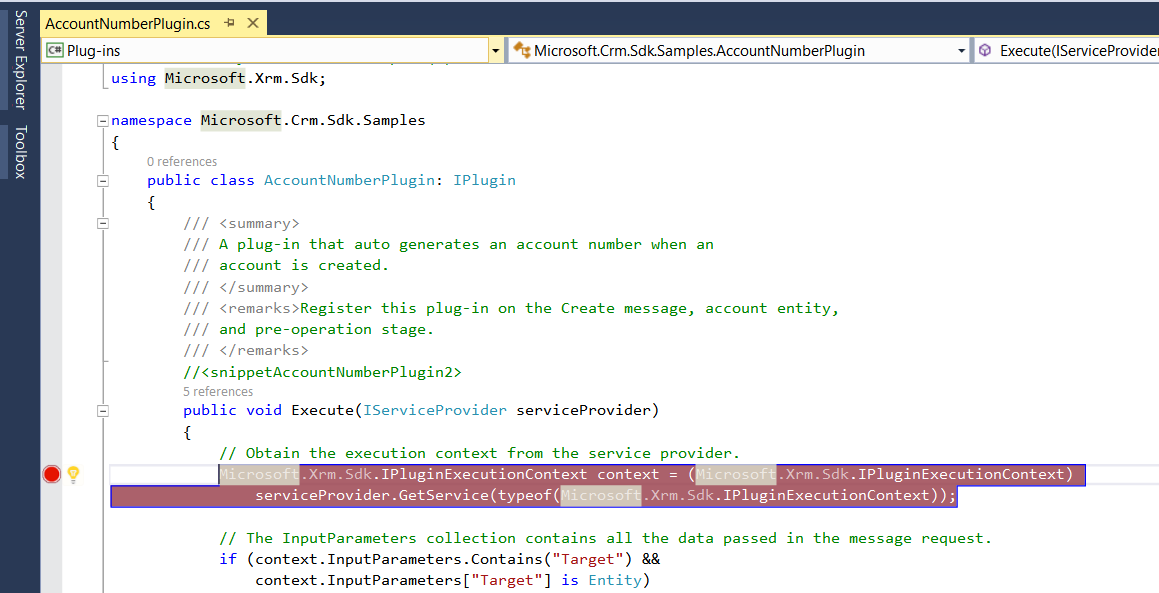
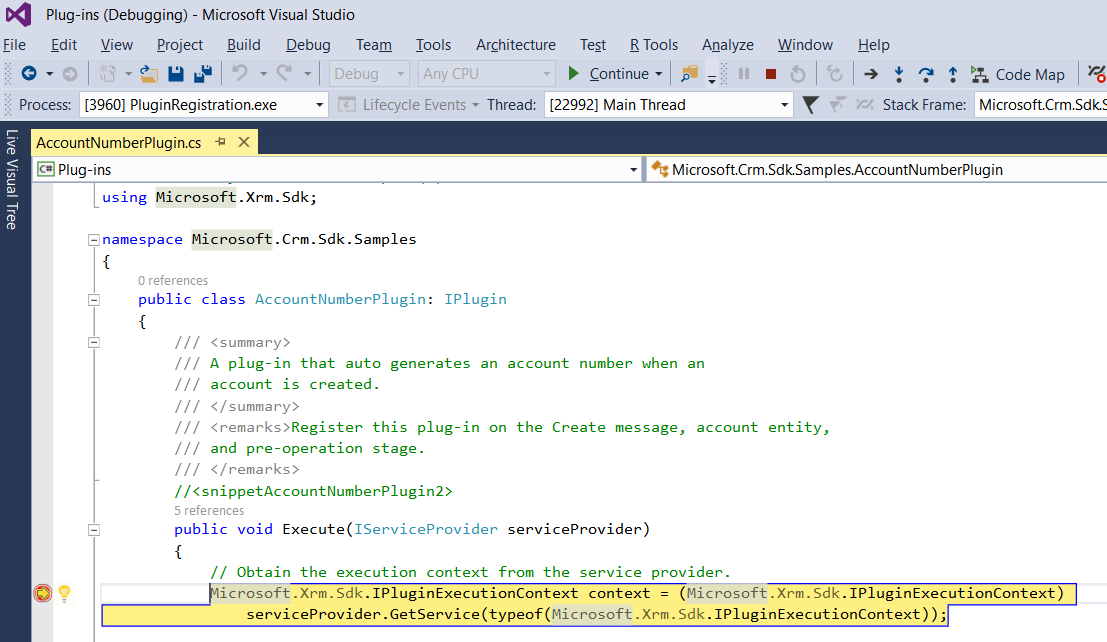
Back in Visual Studio, put a breakpoint in the plugin code that will be stepped through:
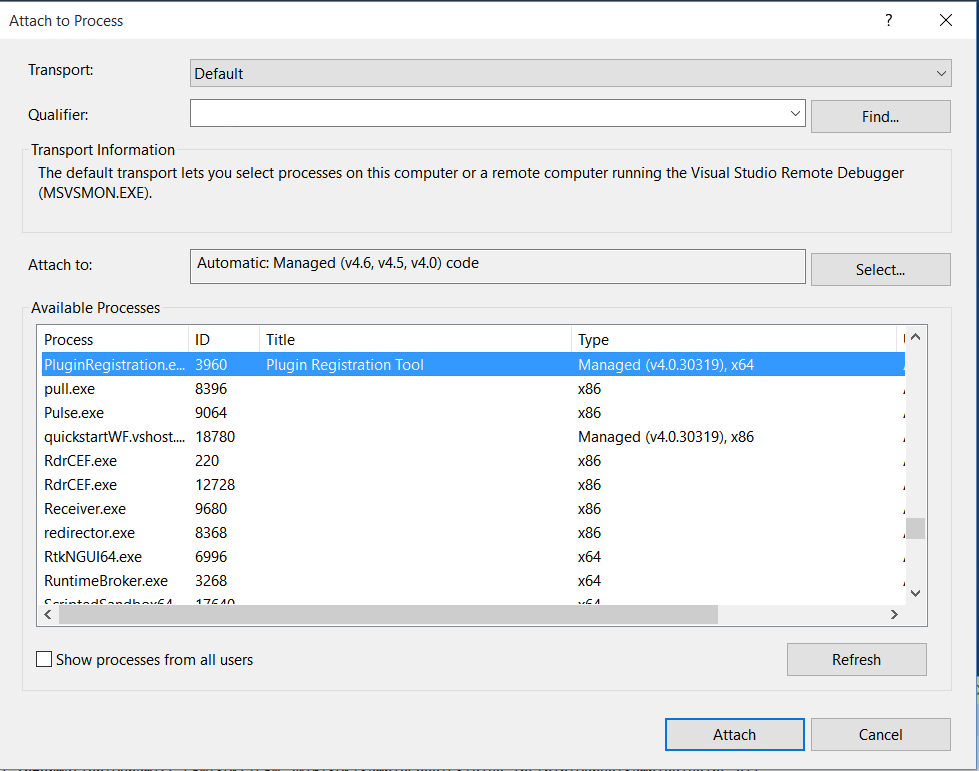
Then select Debug->Attach to Process:
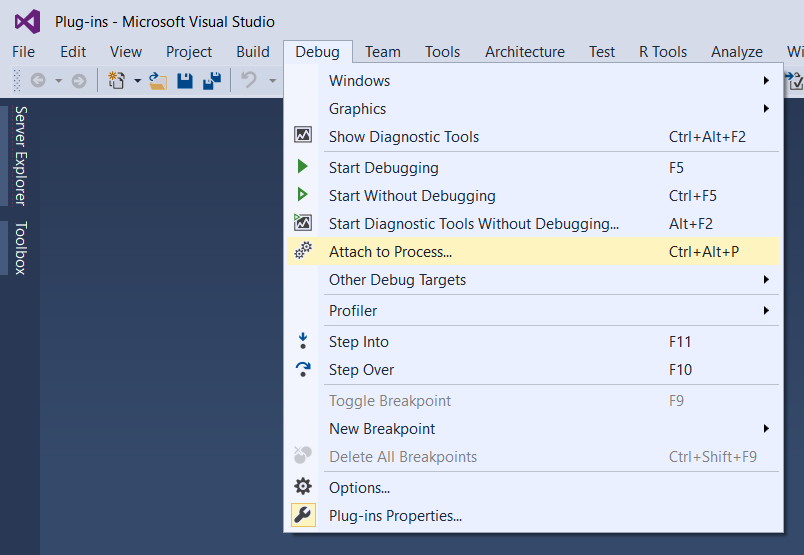
Select PluginRegistrationTool.exe:
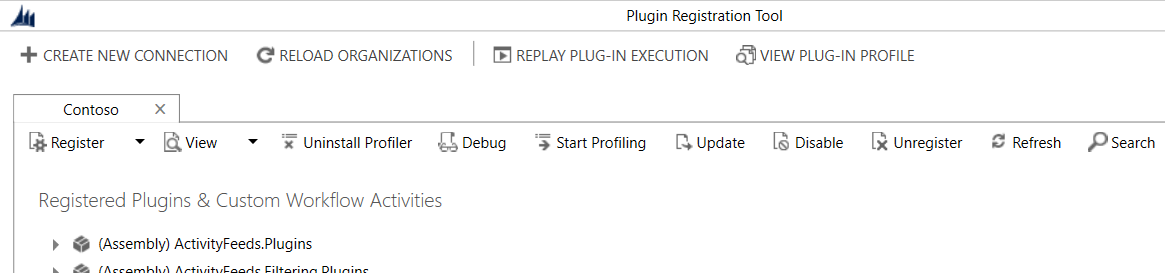
In the Plugin Registration Tool then select “Replay Plugin Execution”:
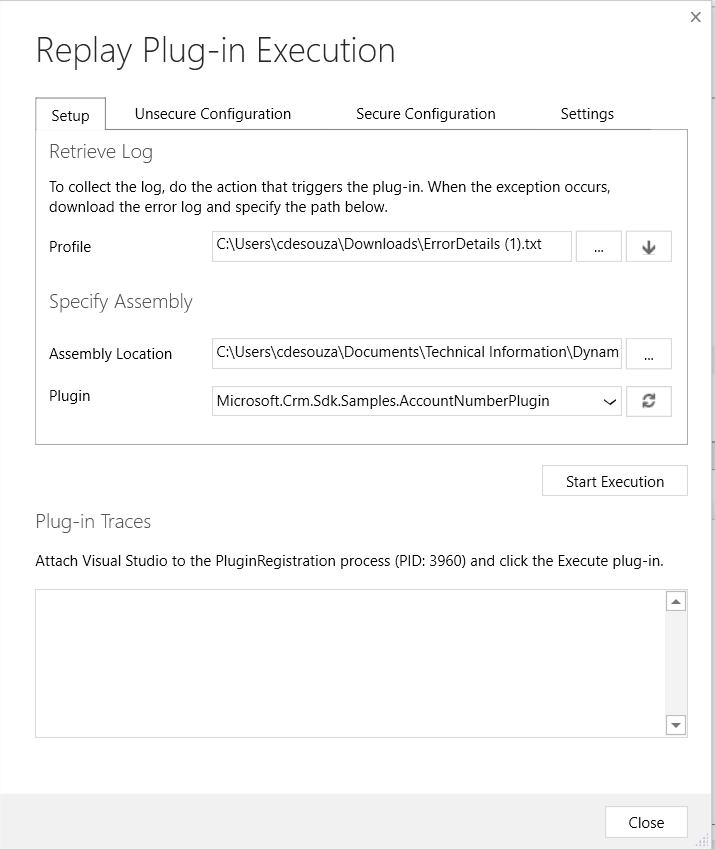
Select the downloaded log text file as the Profile and then the SamplePlugins.dll assembly file:
Visual Studio debugging will open to the set breakpoint:
That’s it! You can use this process to create and debug Microsoft CRM plugins.
