
Introduction
In this blog will see the installation of Power Automate for Desktop Application to the system.
In the previous blog, we have seen the Power Automate Envirnmont creation: https://srinathpega.com/2022/08/09/robotic-process-automationrpa-1-setup-environment/
Power Automate for desktop prerequisites & limitations
Power Automate for Desktop Installation steps
- Go to https://make.powerautomate.com/.
- Click on My flows.

3. Click on Install and select Power Automate for Desktop.

4. Once the download completes, click on the exe file to open and run the installer:
Setup.Microsoft.PowerAutomate.exe

5. Select the following options as illustrated and click the Next button

6. Select the checkbox to agree to Microsoft’s terms of use then click the Install button
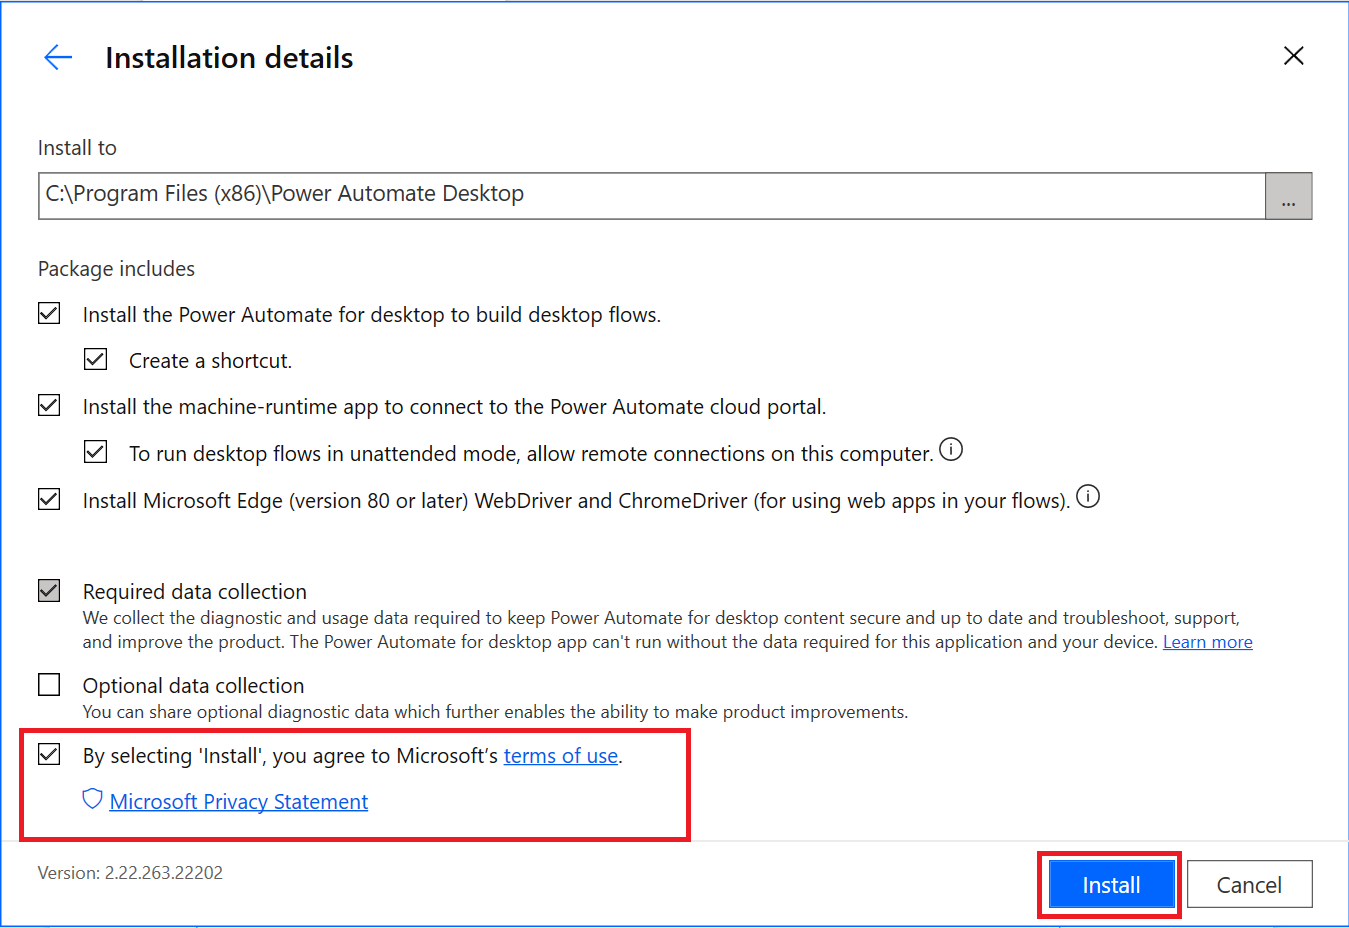
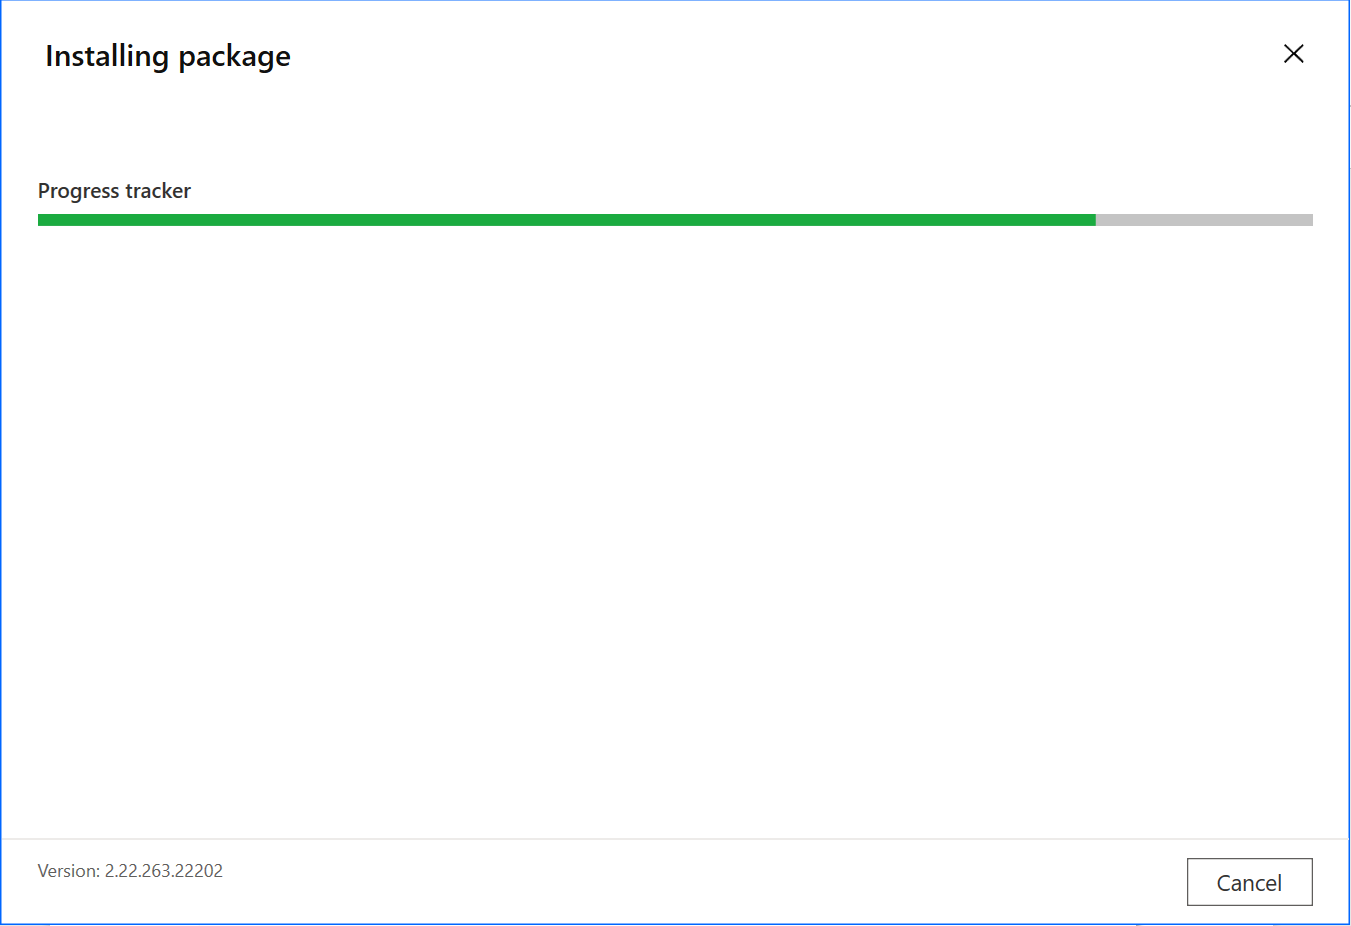
7. The installer will install on your computer:
a. Power Automate for Desktop app.
b. Power Automate for a desktop browser extension for Edge Chromium and Google
Chrome.
c. Power Automate machine-runtime management app.
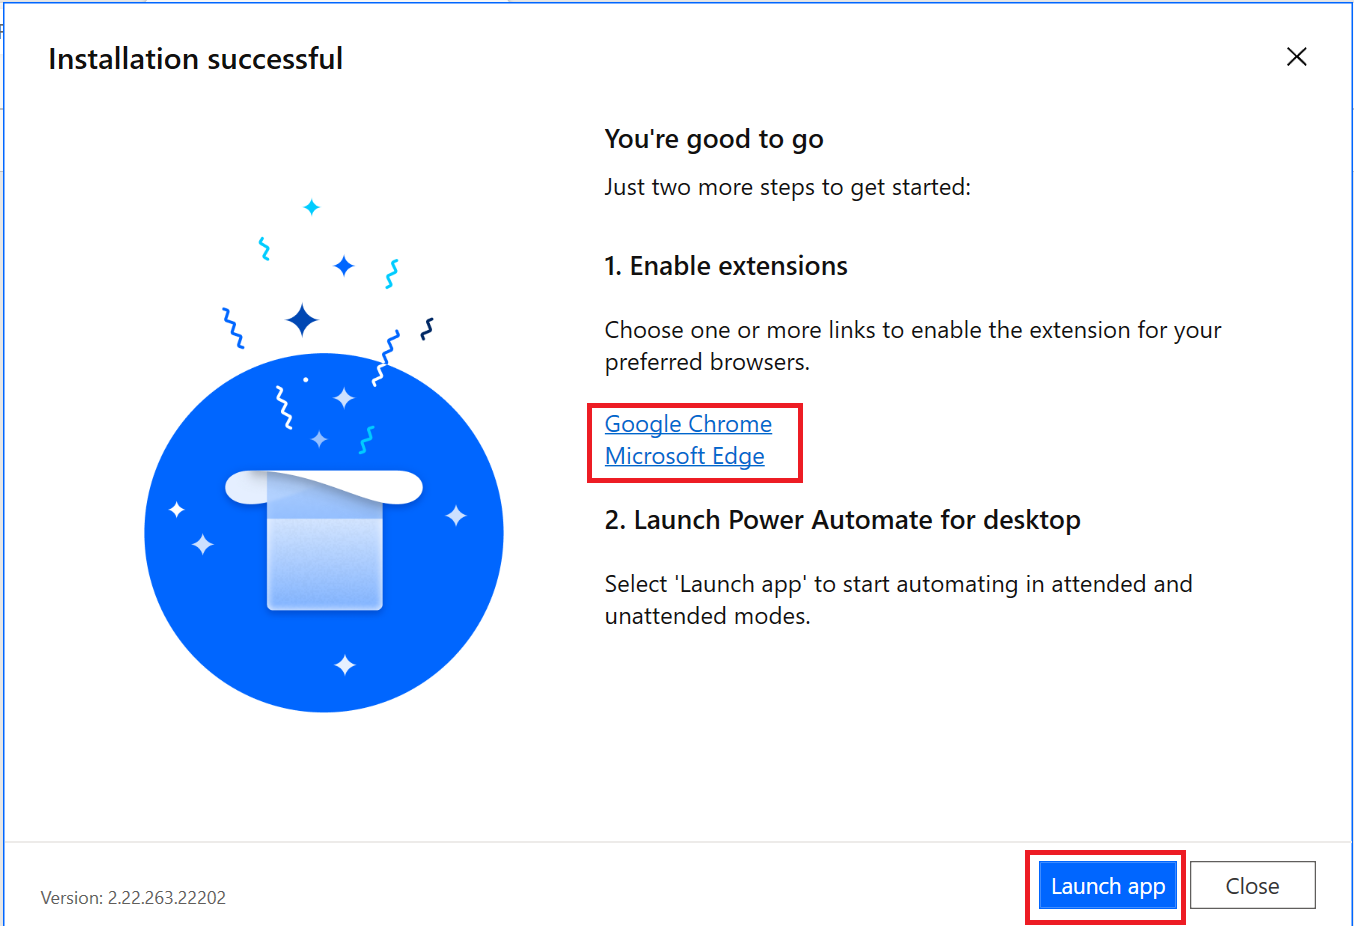
8. After installation is finished click the hyperlinks in step (1) to navigate to a chosen
browser(s) to enable Power Automate for desktop extensions. After your extensions
have been configured, you can launch Power Automate for desktop in step (2).
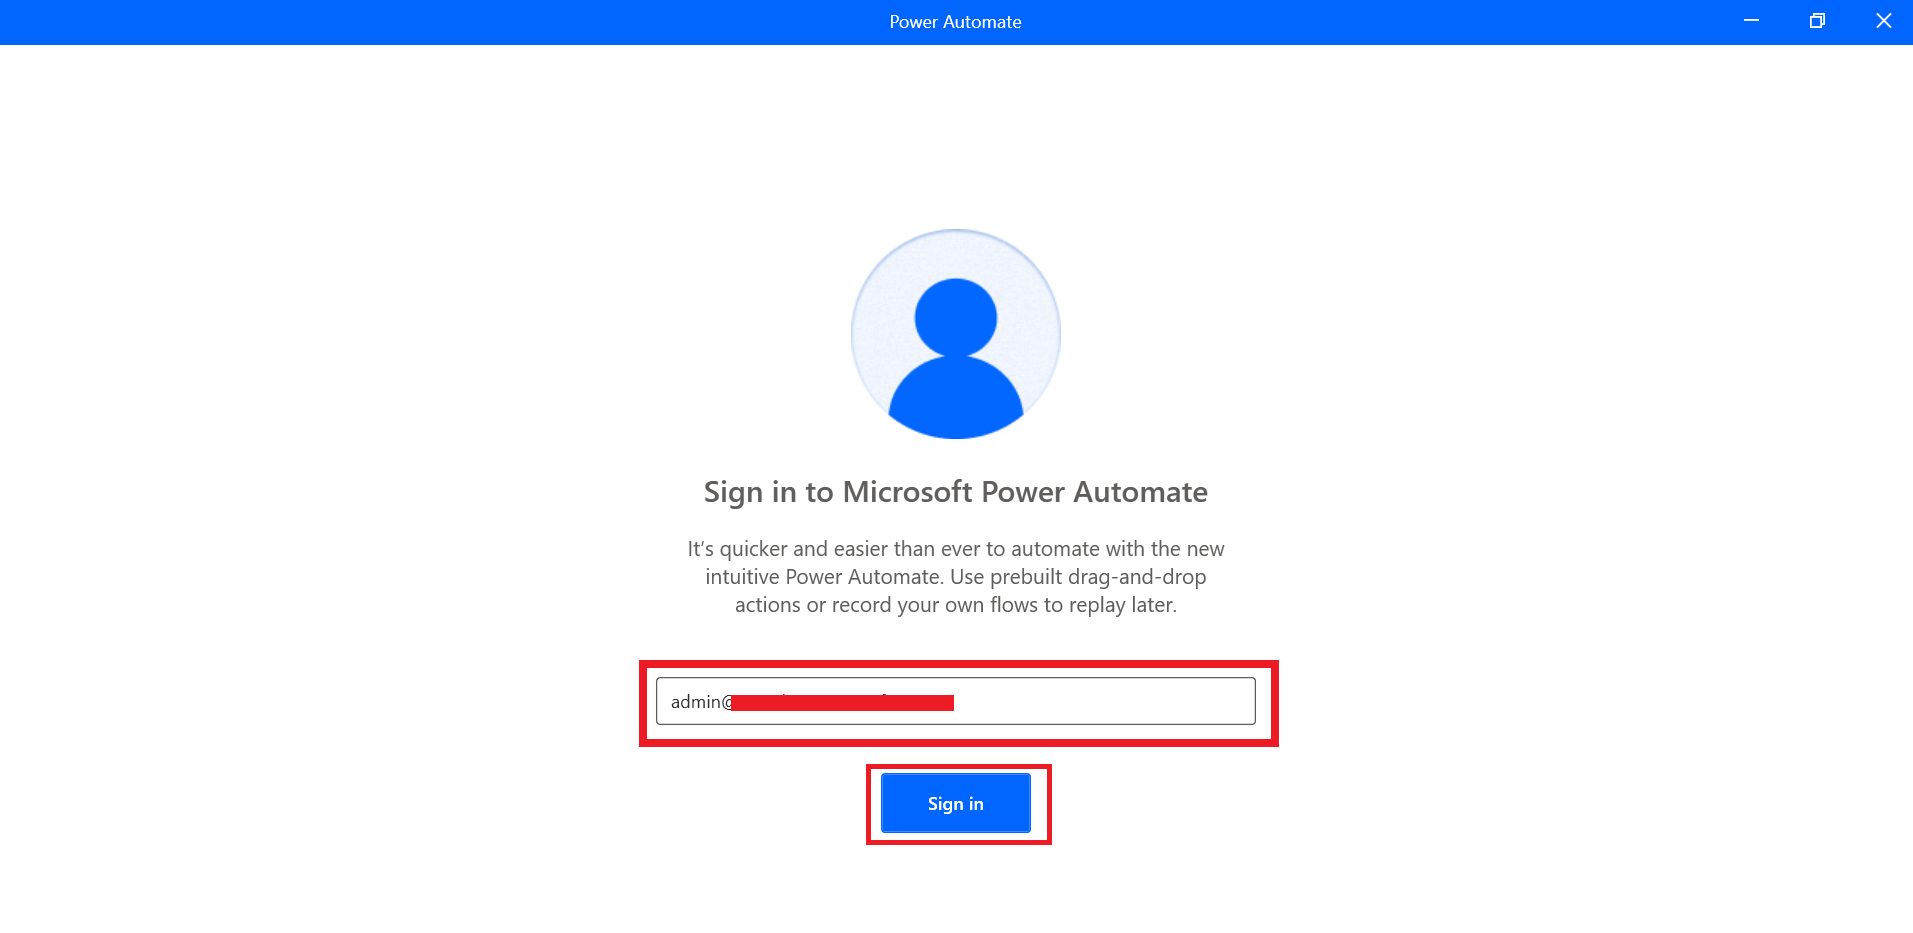
9. Next Launch Power Automate for desktop (PAD). In the opened window, click “Sign in”
and use the admin account.
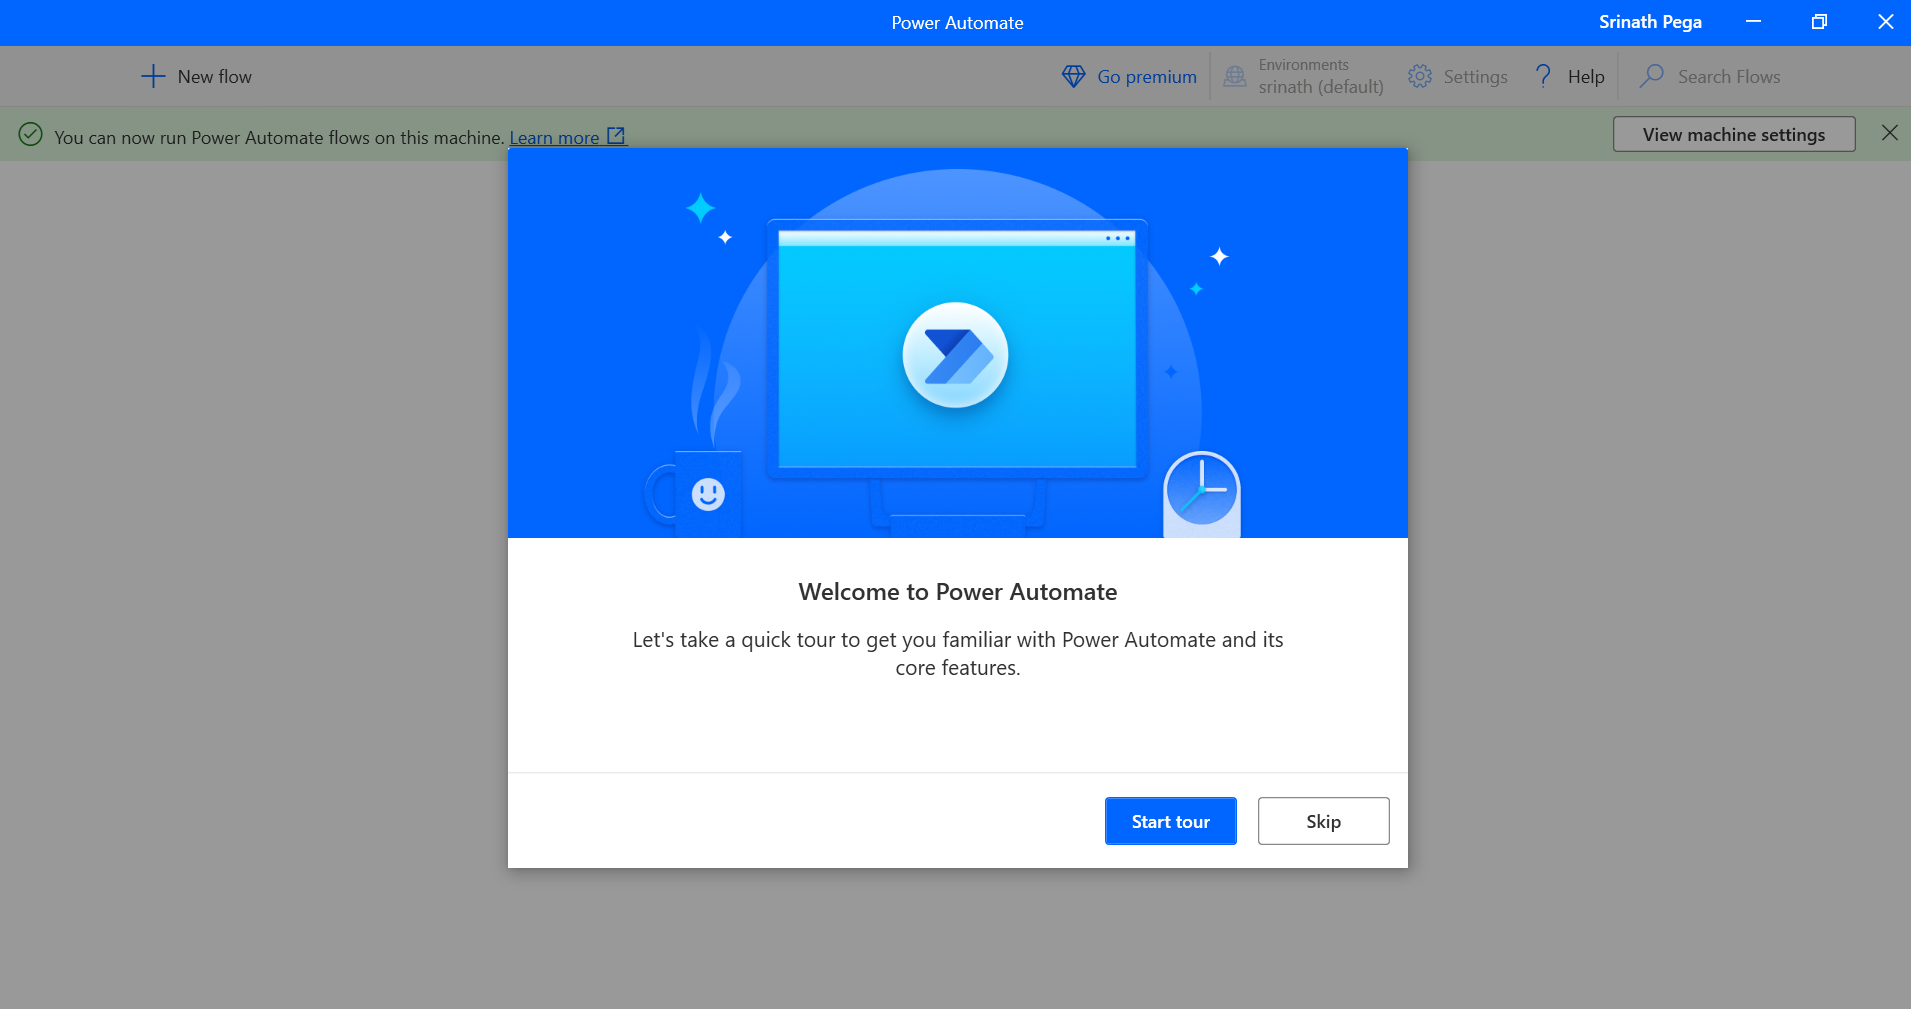
10. Once you are logging in to Power Automate For Desktop (PAD) for the first time, you might see the tour window.
Hope you learn something, Thanks for Reading 📖!
Happy Power365ing!
