
Introduction
Portals Entity Lists are a great method to display a list of records from Dataverse to the users. Easily and quickly create a Dataverse View, Entity List, and Web Page to present the necessary data for simple needs. You also have options to get quite complex if needed.
In this blog will explain adding Entity List on the Web Page from both Power Apps Portal studio and Portal Management Model-driven App.
Adding Entity List on The Web page
- Go to Power Apps Maker Portal.
- Select the Environment where the Power Apps Portal is Provisioned.
- Click on Apps in the left panel, select the Portal, and click on the ellipse, open the portal in edit mode.
Note: Portal List Component can add on the Web Page only.
4. Now need to add the Web Page to the portal from the navigation bar.
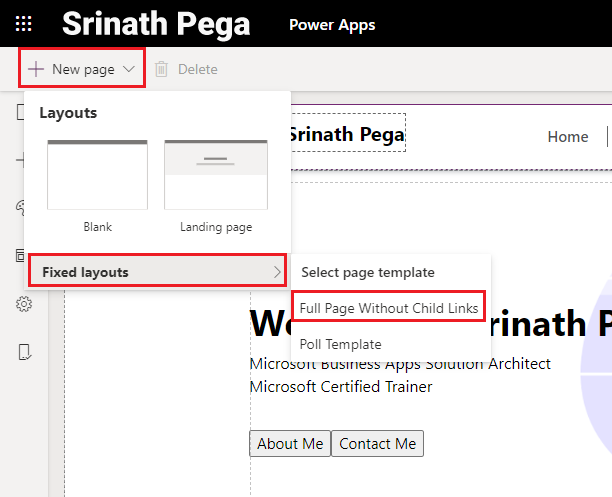
5. By selecting the Page Layout, the Web Page will be added to the Portal.

6. Need to change the Name of the Page and Partial URL.
Name: Name of the Web Page
Partial URL: the URL of the page followed by the Portal base URL.

7. Now we need to add the one-column section layout to the page. Learn more about

8. Now we need to add the Entity List component to the one-column section layout from the left pane.

9. Click one List component, it will add to the section layout on the web page.
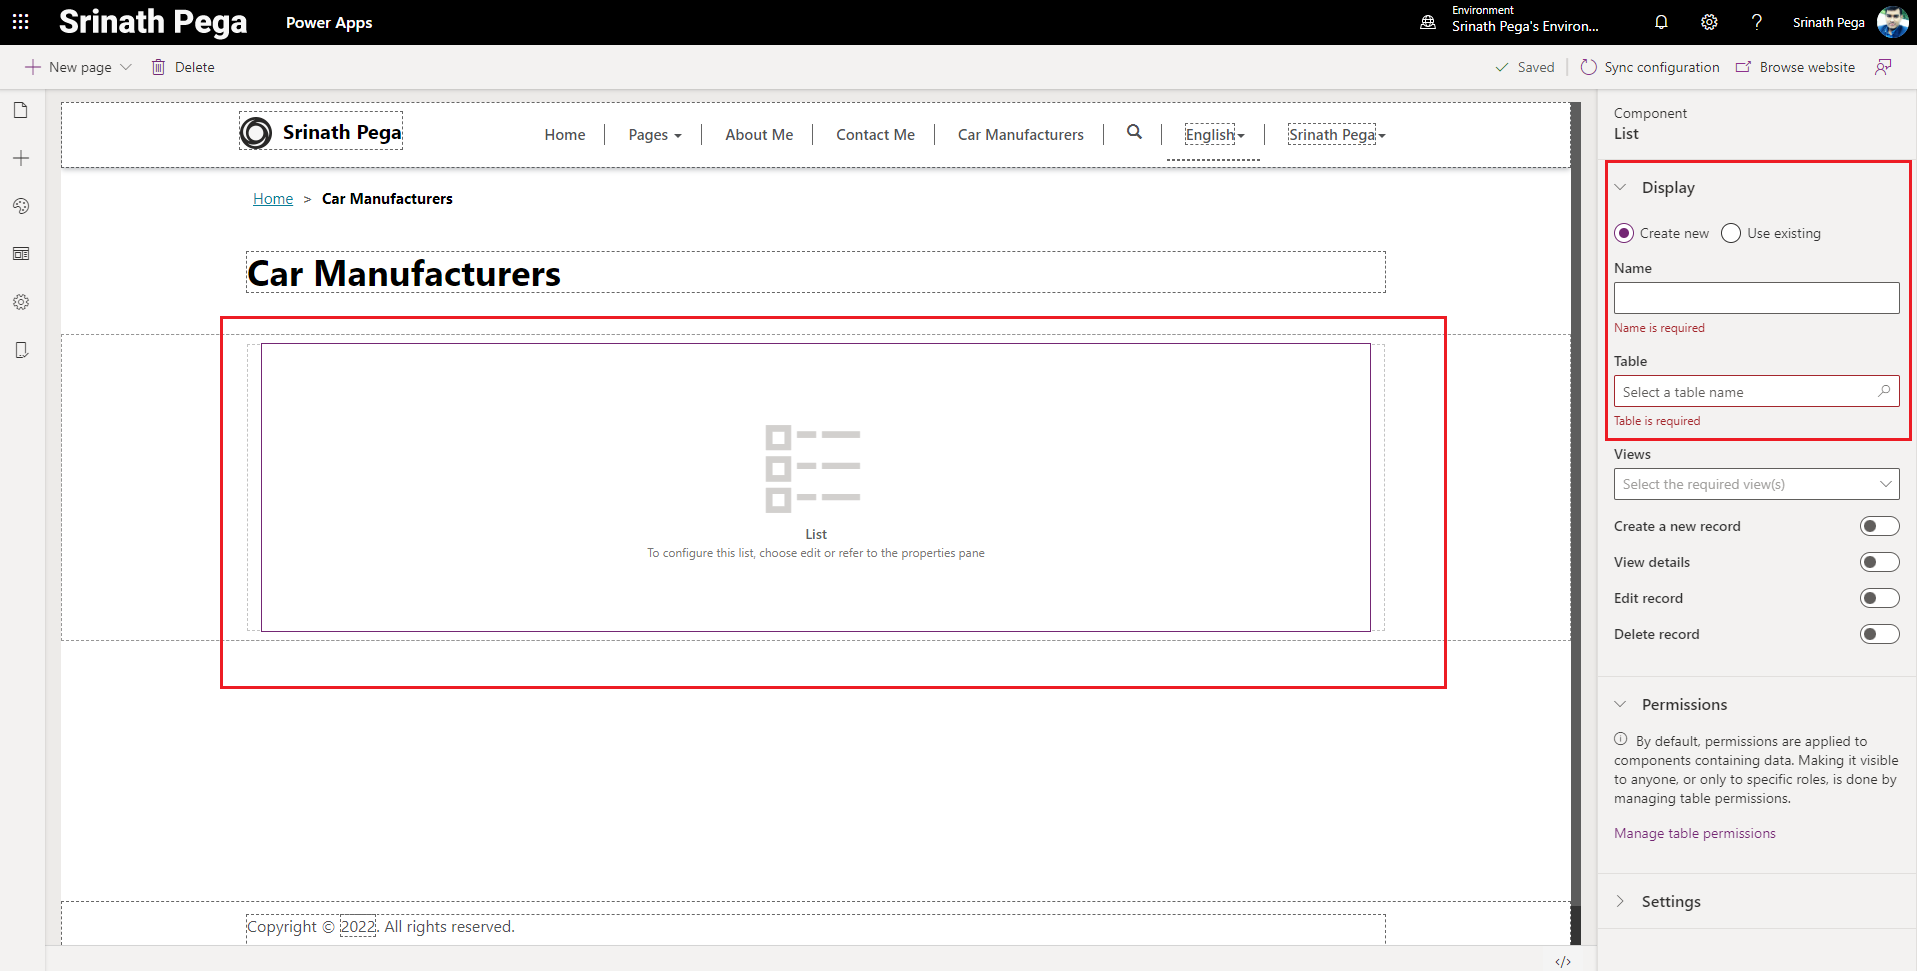
10. In the List Properties section ask for the Name and Table.
Name: Name of the List
Table: Datverse Table needs to select.
View: The Datverse view for showing the columns in the list.

Note: In the properties section we have Create New and Use Existing list. If we add a very first-time List to the Page it will Create New and One page is published then the options change to Use Existing.
Hope you learn something, Thanks for Reading 📖!
Happy Power365ing!
