
Introduction
Authentication can be enabled in Power Virtual Agents to allow the user to log in for personalized experiences. Power Virtual Agents utilizes OAuth2 Authentication to provide a robust and secure authentication experience directly through the Power Virtual Agent conversation
Power Virtual Agent and have seen a high impact in reducing the number of cases
with generic questions your Customer Support Team is receiving. As a direct result, the business cost around customer support has been directly reduced.
In the previous blog seen Creation of Azure App Registration to enable the Authentication https://srinathpega.com/2022/07/06/power-virtual-agents-10-enable-authentication-part-1/
In this blog will walkthrough how to enable the security authentication for Power Virtual Agents.
Authentication Settings in Power Virtual Agents
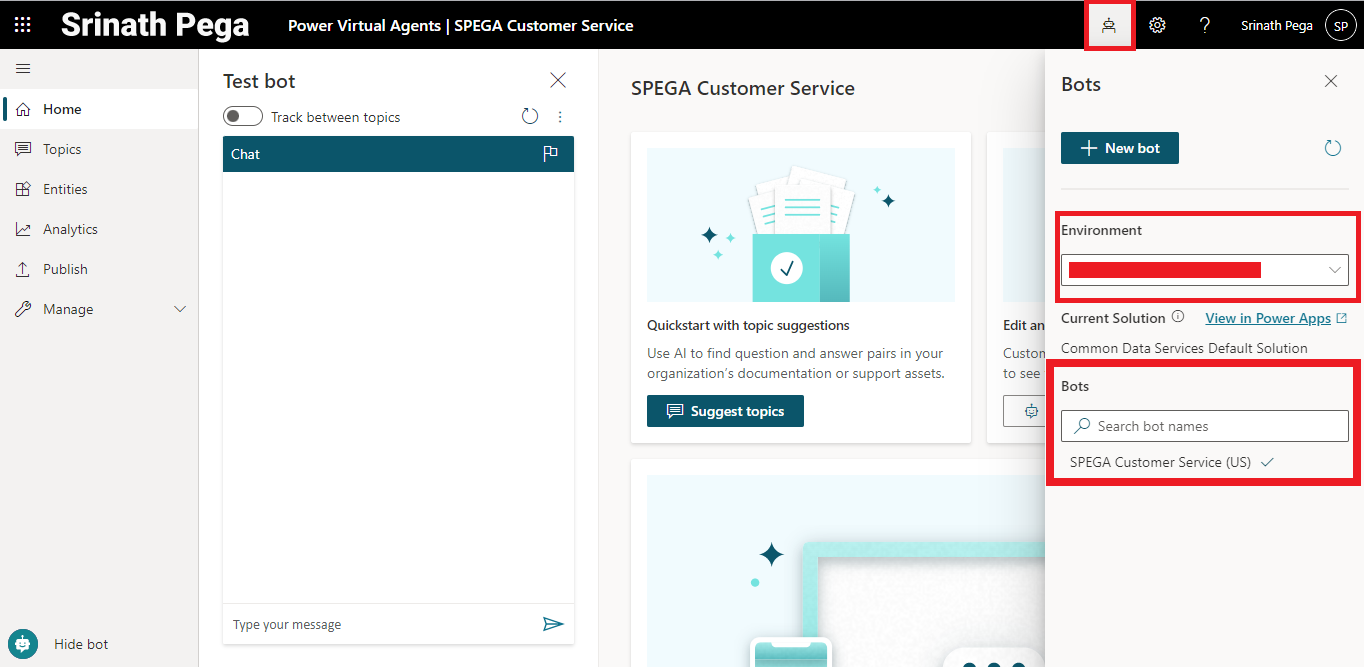
- Go to https://powerva.microsoft.com/
- Select the bot and Environment from the top right corner.
3. Click on the Manage and select security.
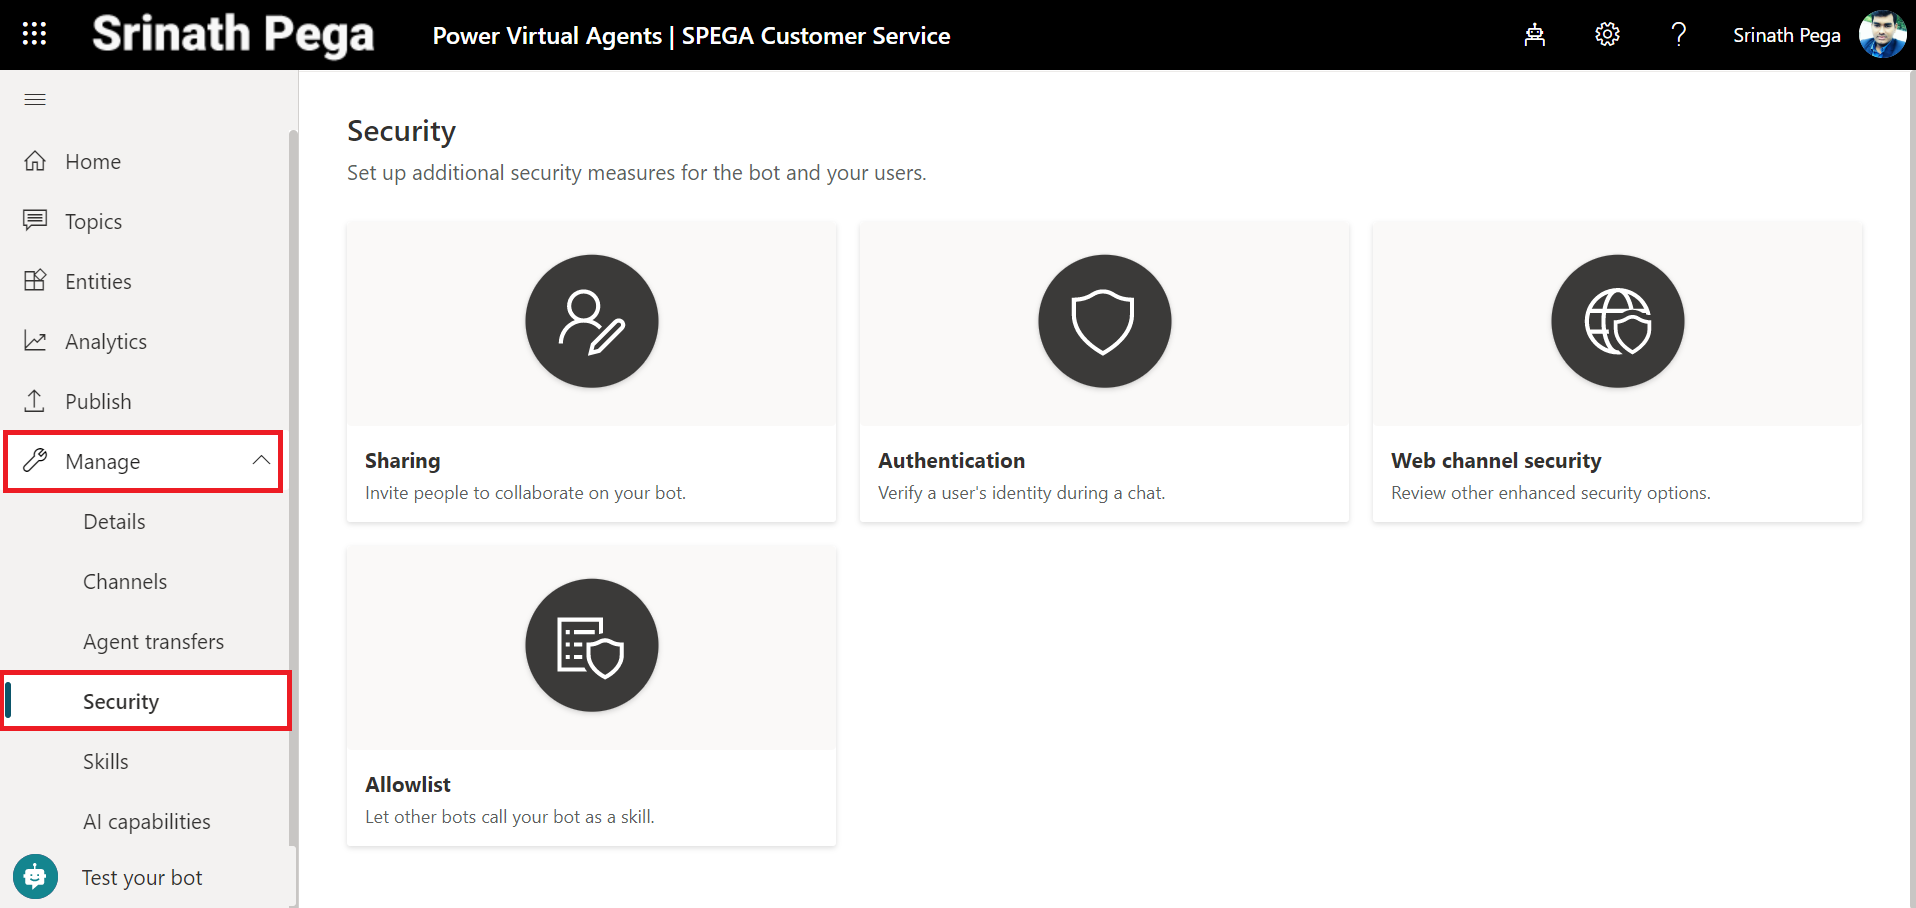
4. Click on Authentication.
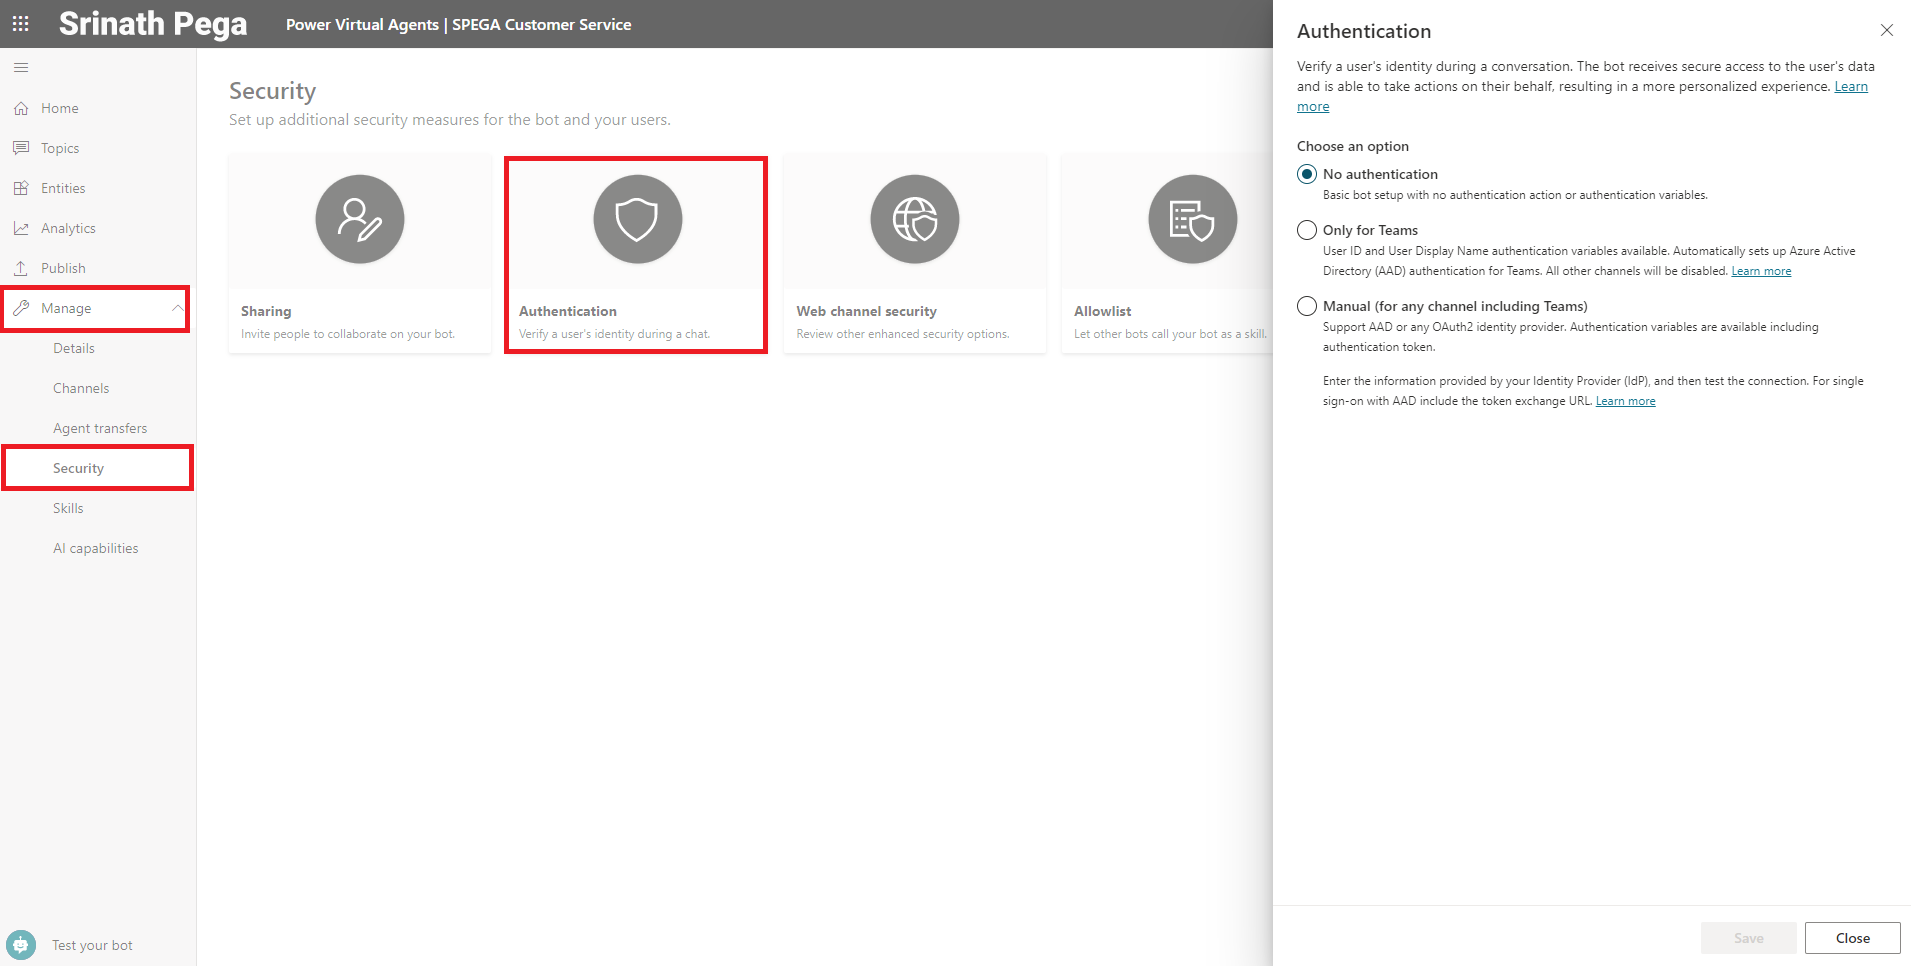
5. Authentication Choose an option field, select Manual (for any channel including teams). Do not enable Require users to sign in.
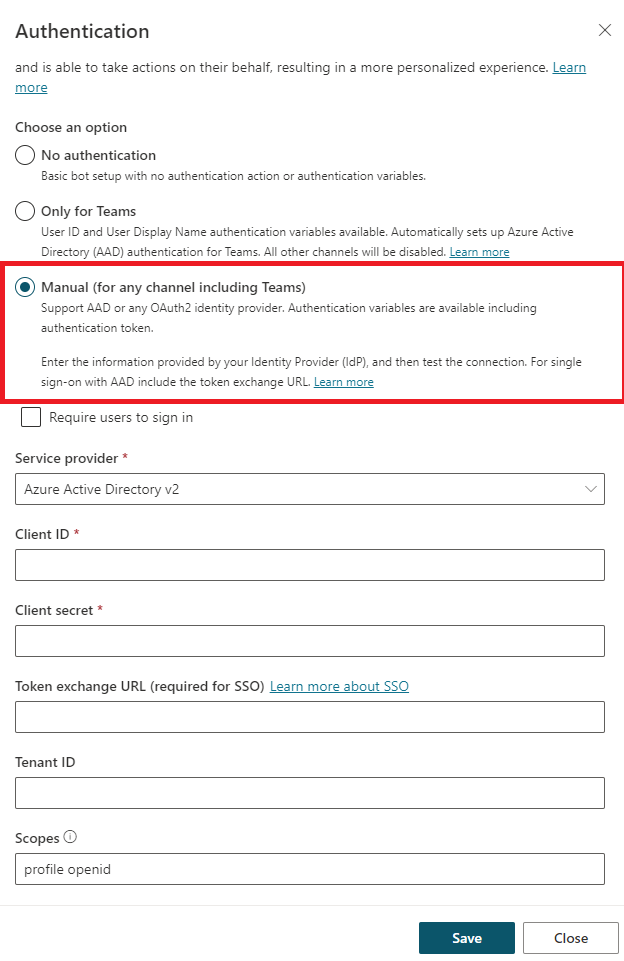
6. Fill the Authentication Fields and Click Save.
| Service Provider | Azure Active Directory v2 |
| Client ID | Your Application (client) ID from earlier |
| Client Secret | Your Client secret value from earlier |
| Token exchange URL | Leave this blank |
| Tenant ID | Leave this blank |
| Scopes | openid profile User.Read |
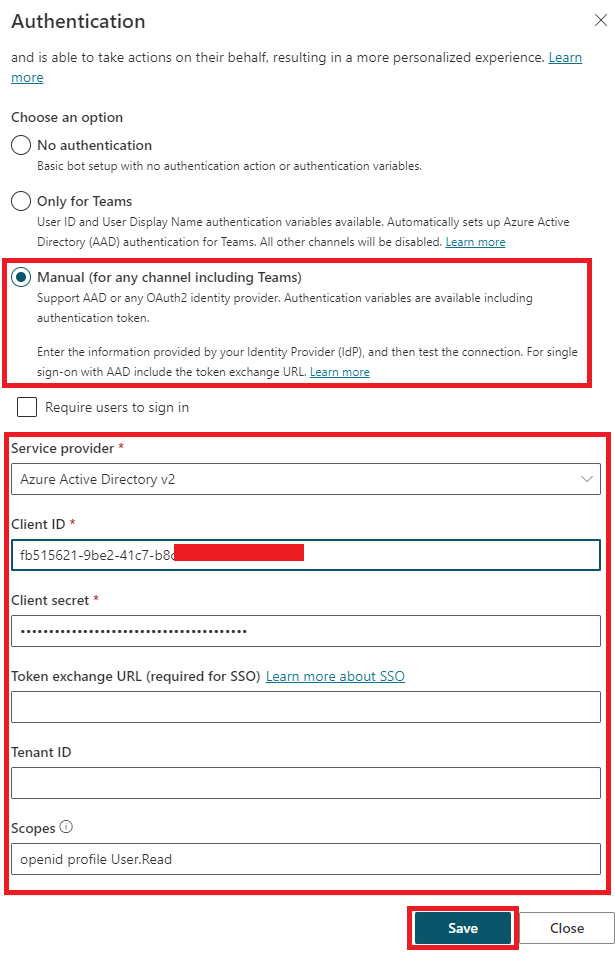
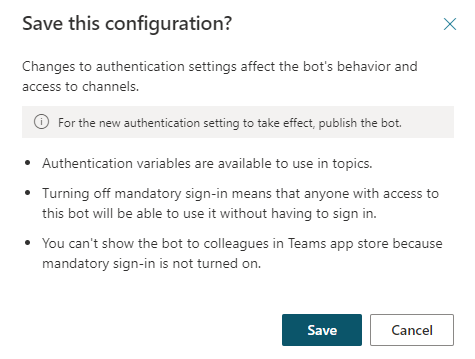
7. Click on save.
8. Publish the bot.
Hope you learn something, Thanks for Reading 📖!
Happy Power365ing!
