
Introduction
Automation has changed the aspects of the business today. In addition, the opportunity of applying robotic automation in business processes has been gaining more attention as they challenge in a digital world, which requires faultless operations. With RPA Robotic Process Automation.
In this blog will see the creation of the first Power Automate Desktop Flow.
Power Automate Desktop Flow Creation Steps
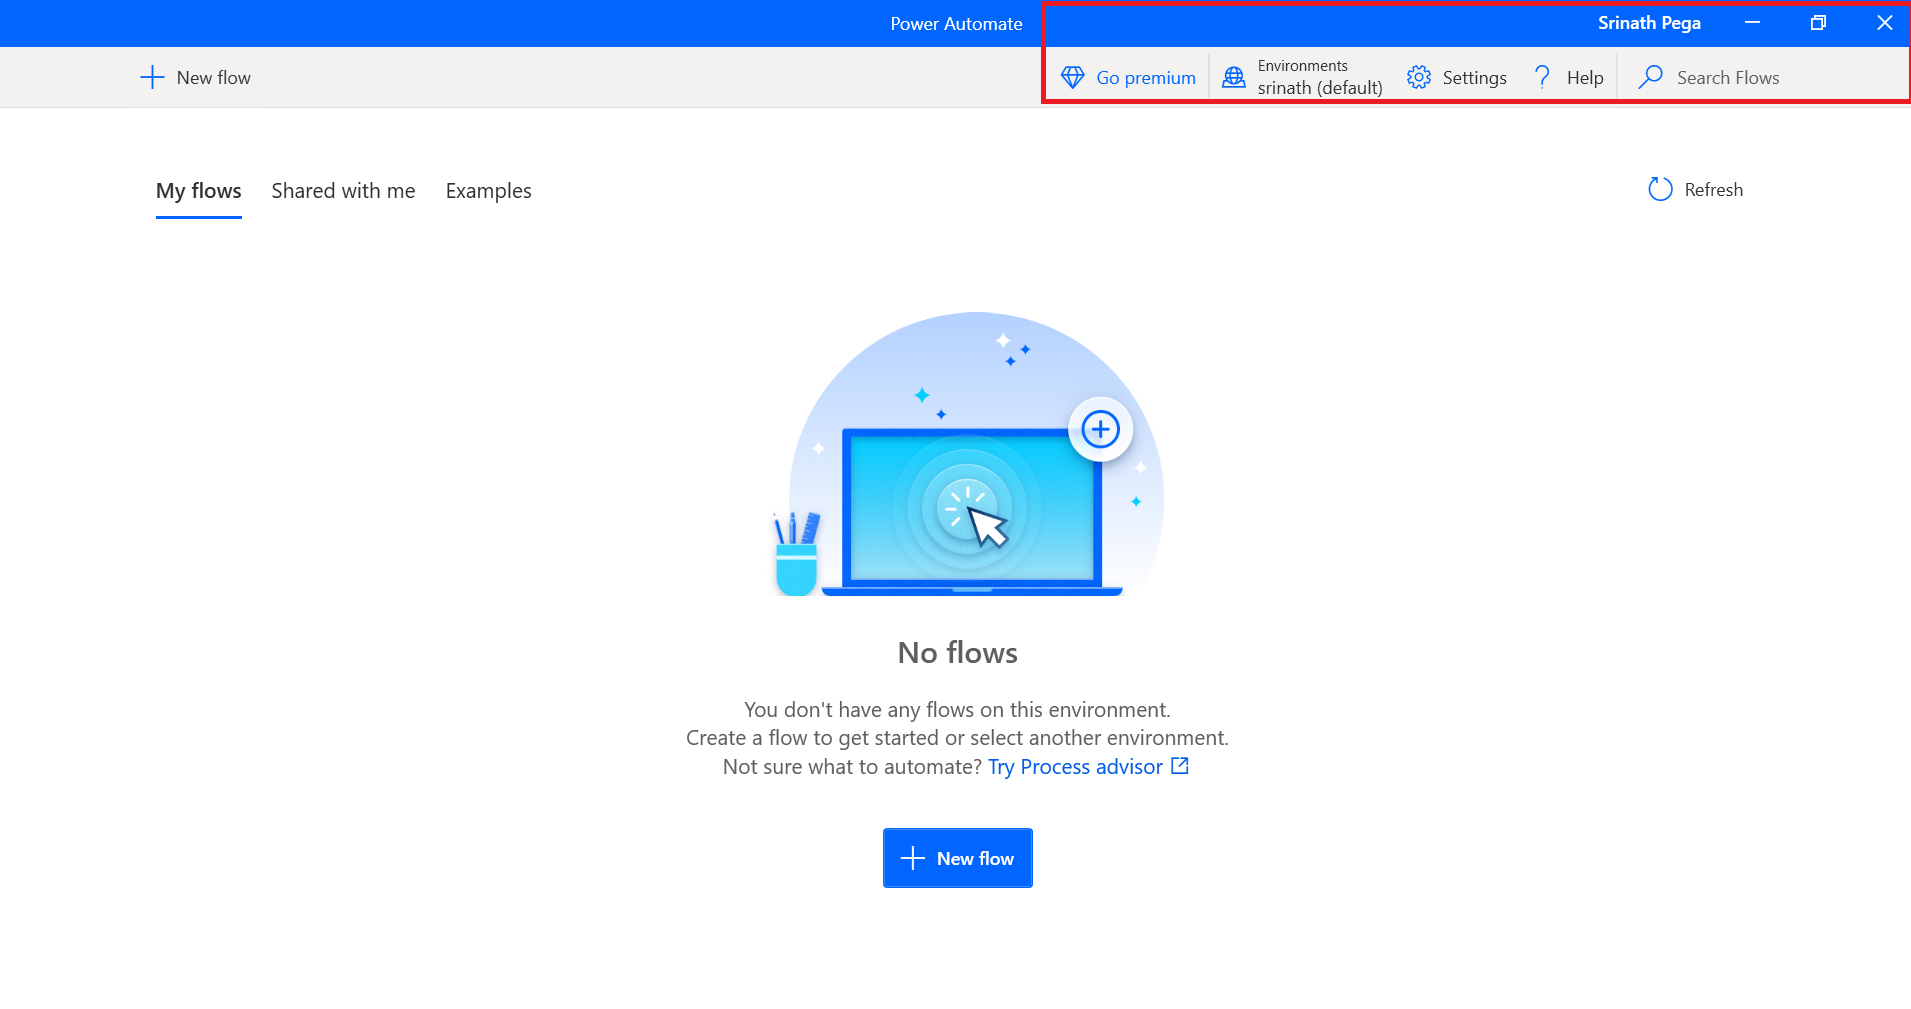
- Open the Power Automate for Desktop App from the computer and sign in to with a school or business account.
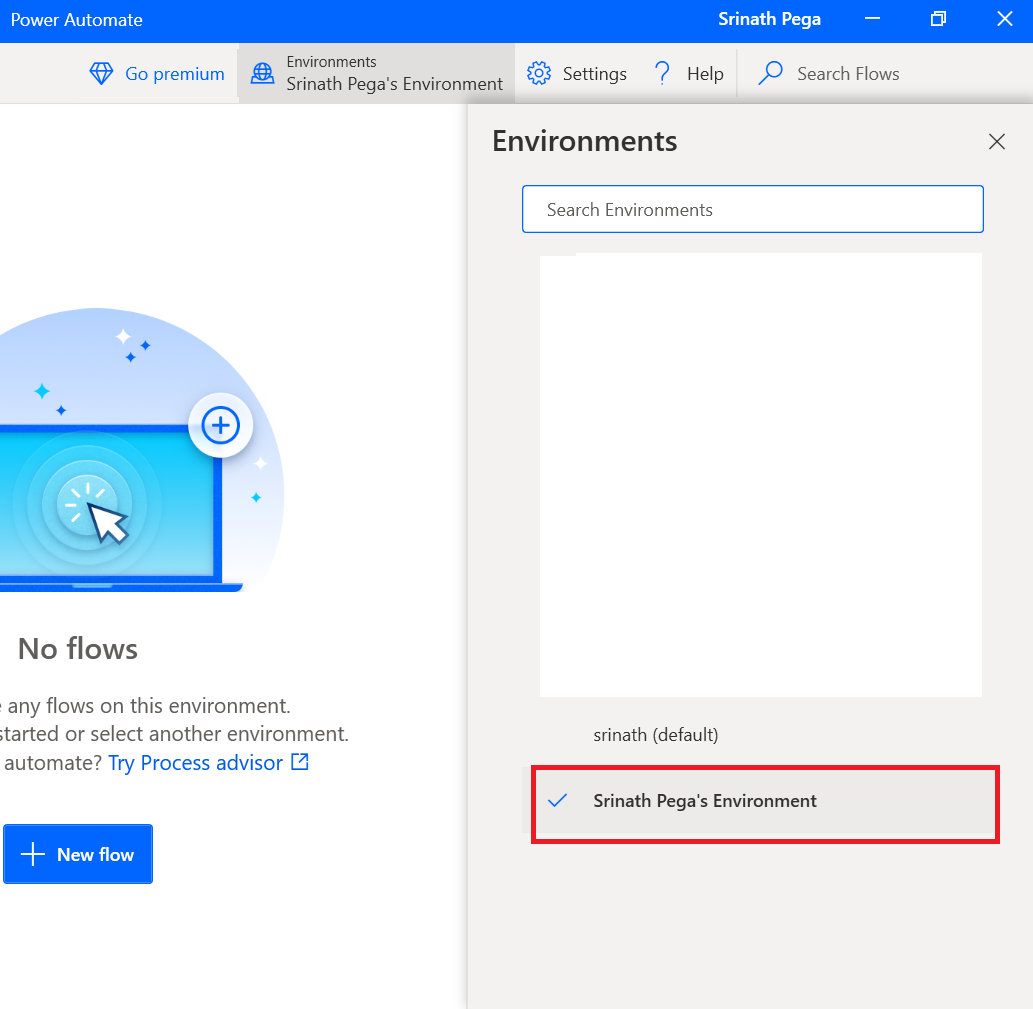
2. Click the Environments dropdown to change your environment to the appropriate one.
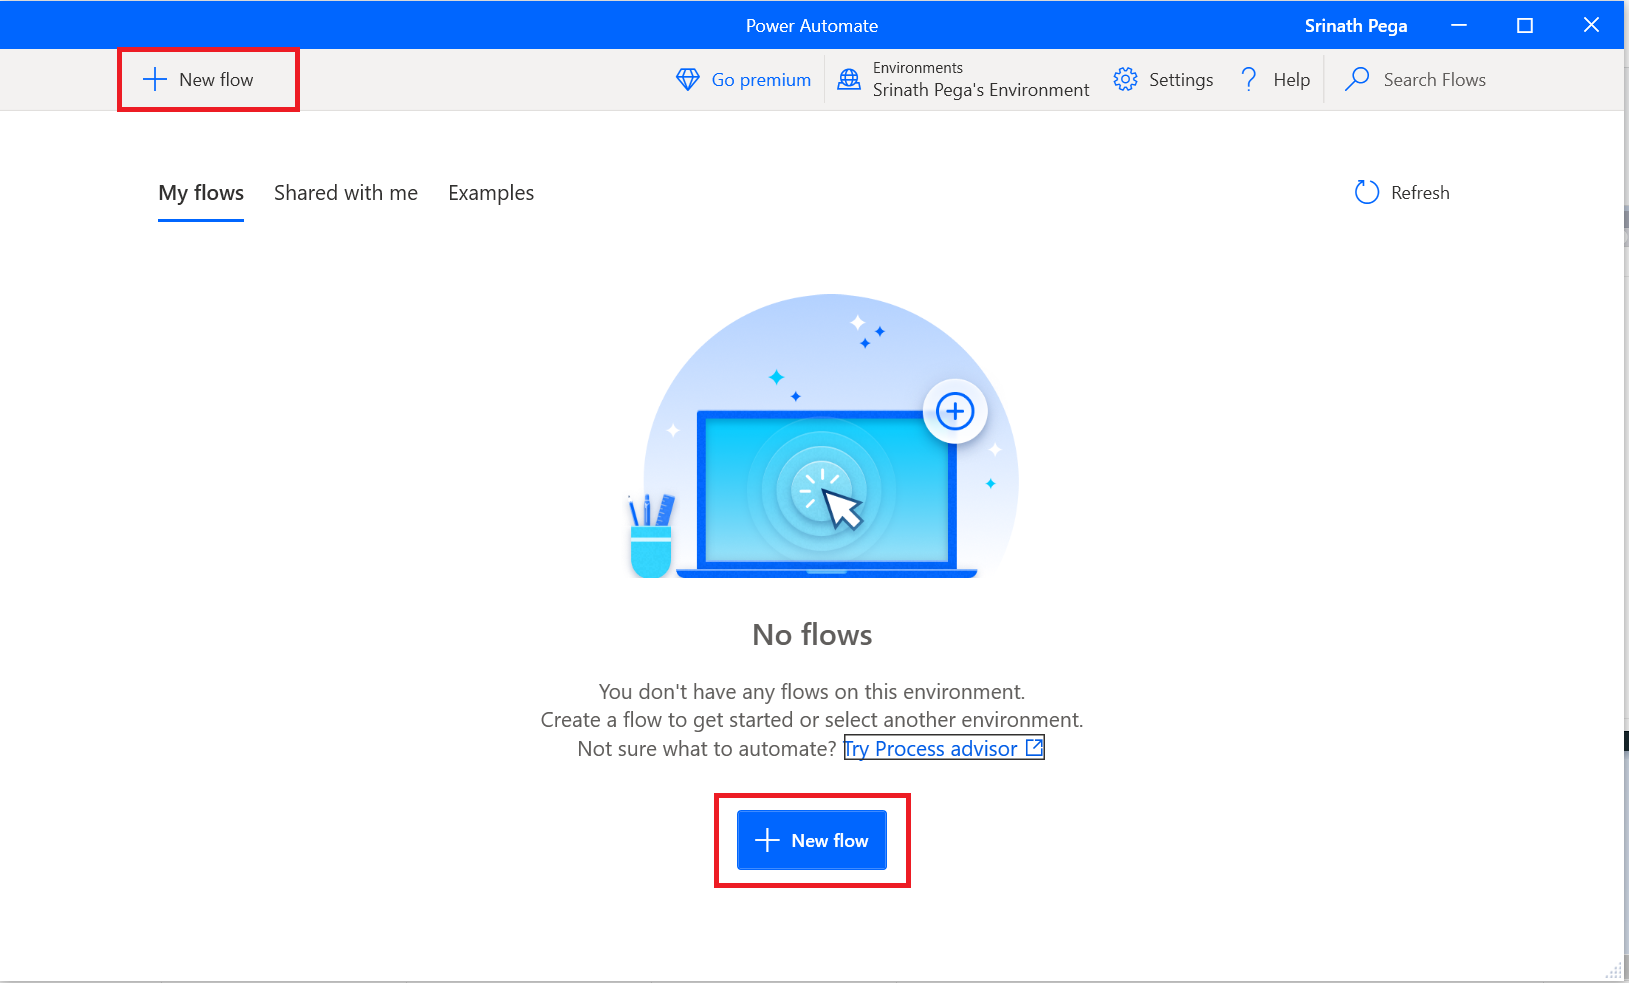
3. Click on New flow to create a new Power Automate Desktop flow.
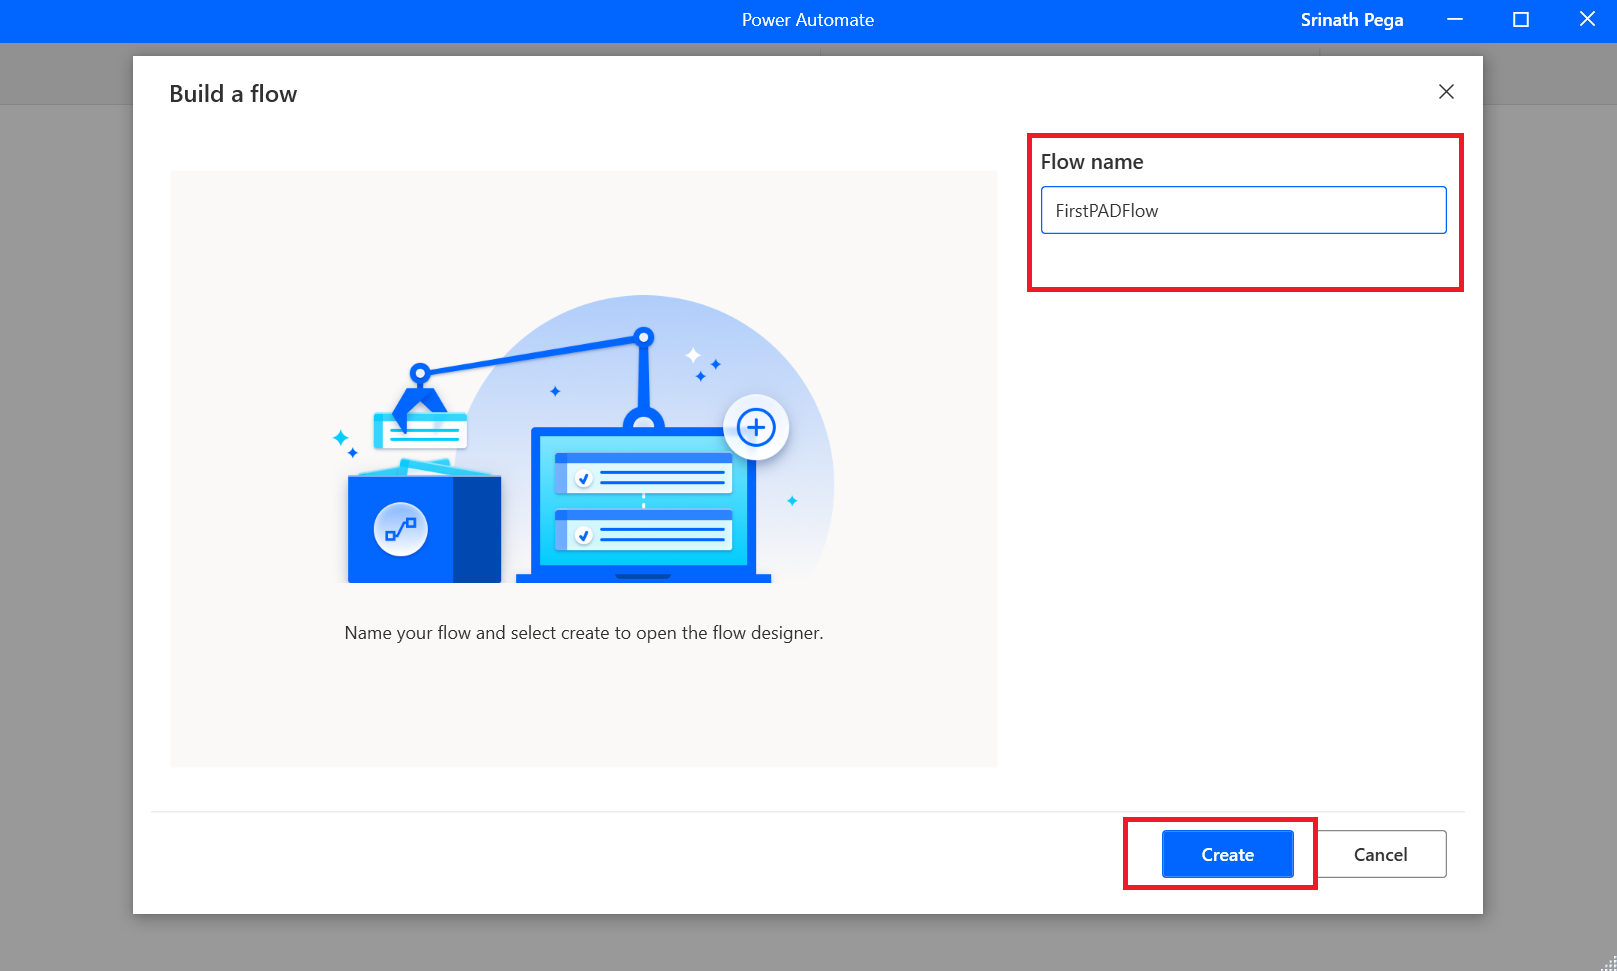
4. Give the name FirstPADFlow and Click on Create.
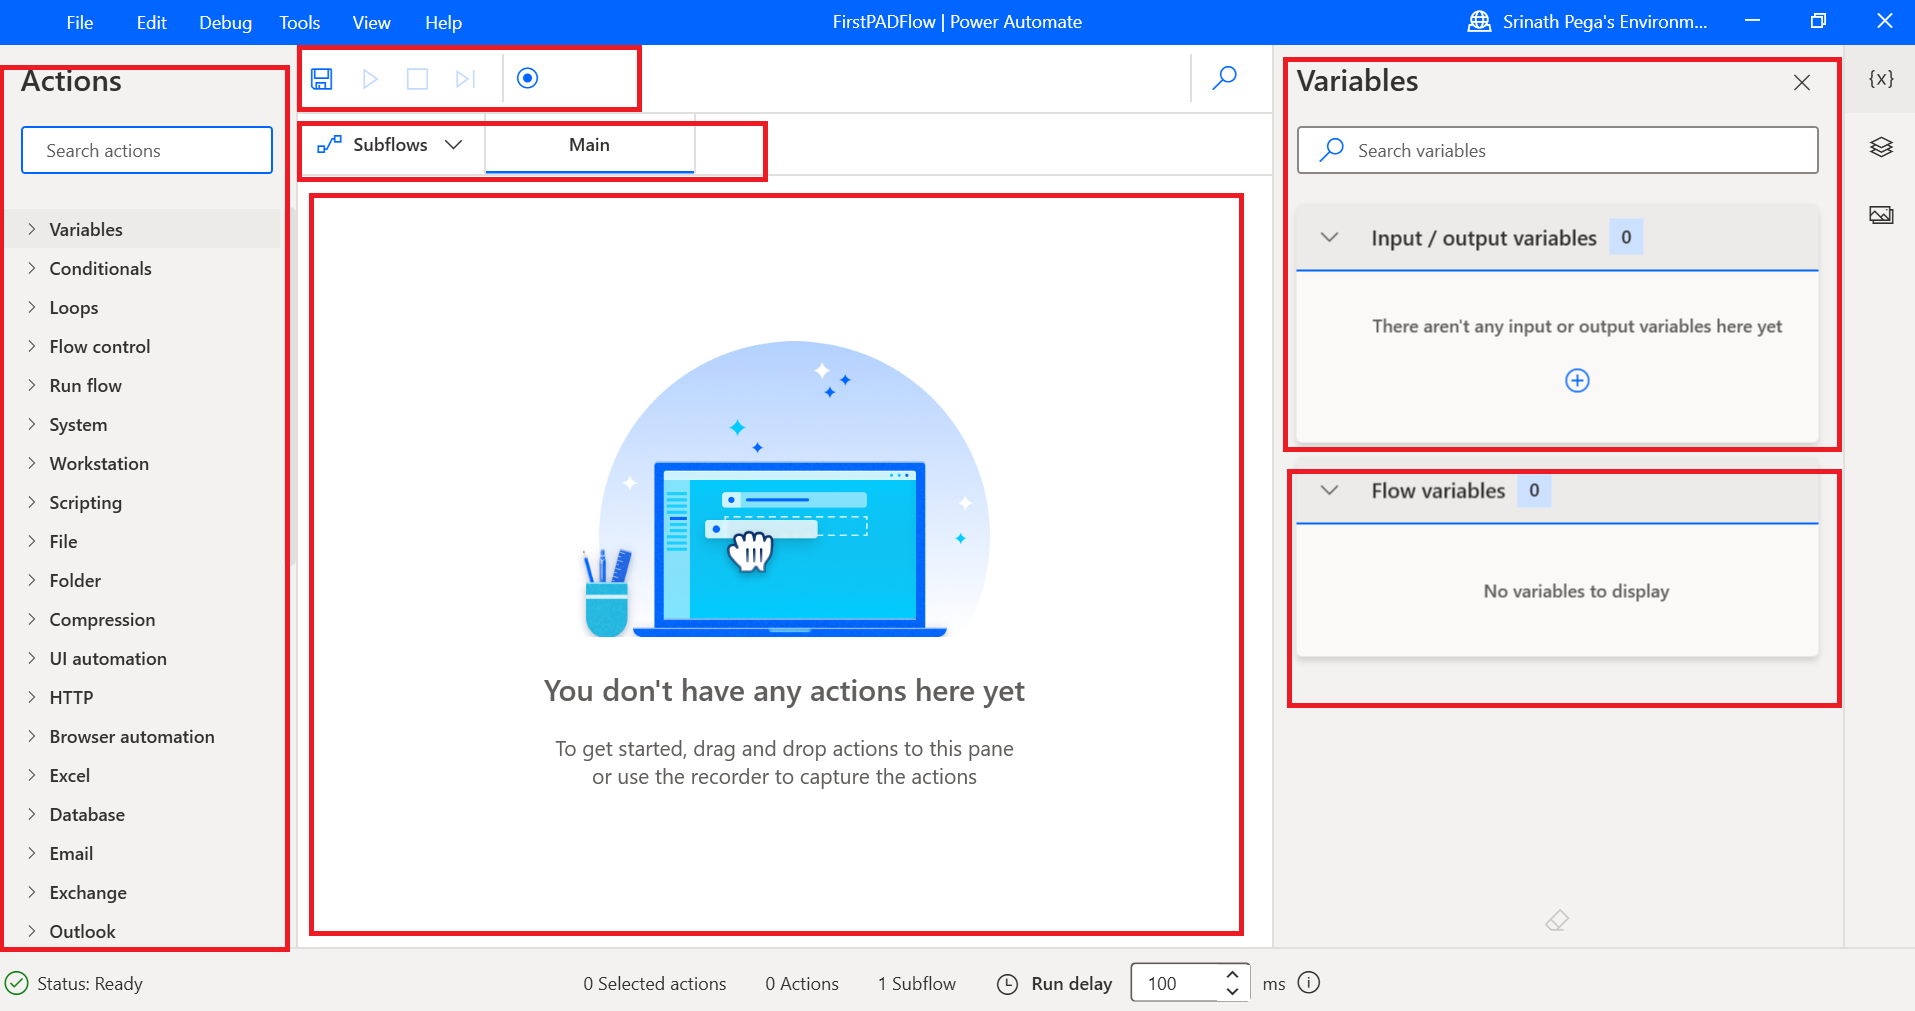
4. It will open in the Power Automate for Desktop Designer.
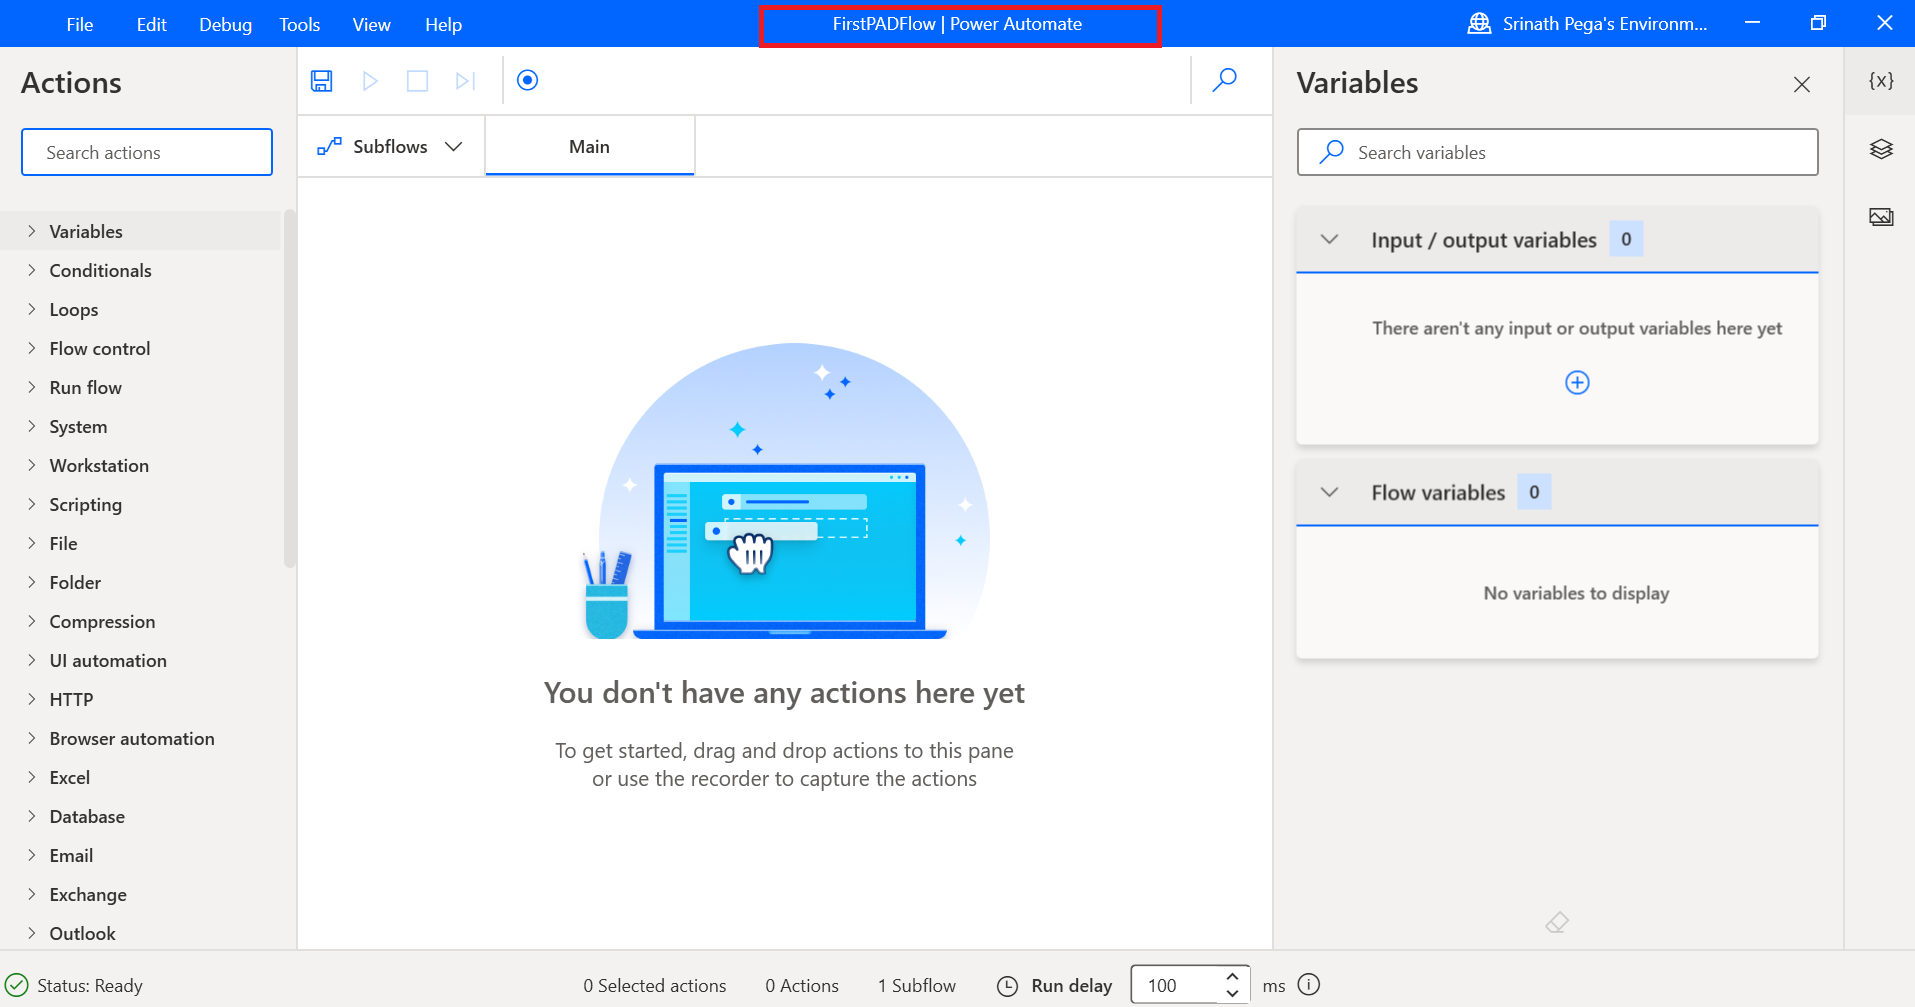
5. Toolbar – Contains basic operations for use with actions (Save, Undo, Copy,
Debug and Paste) as well as the button to start the Recorder, and control the process
execution (Start/Pause/Stop)

6. Subflows – Allows you to create subflows under your main flow

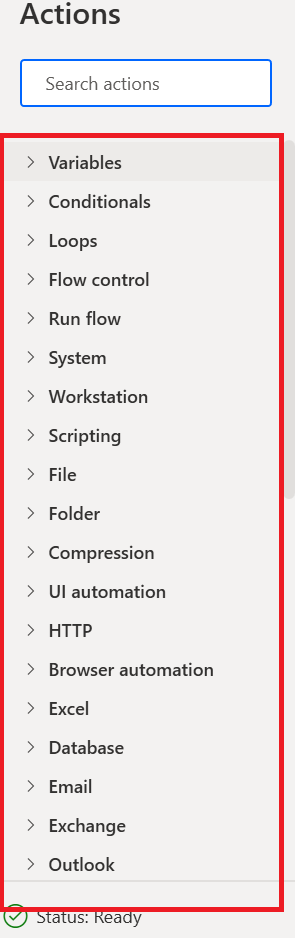
7. Actions pane – Contains all Power Automate for desktop Actions and includes
the search bar that assists in finding specific actions by matching the action name to
the text string
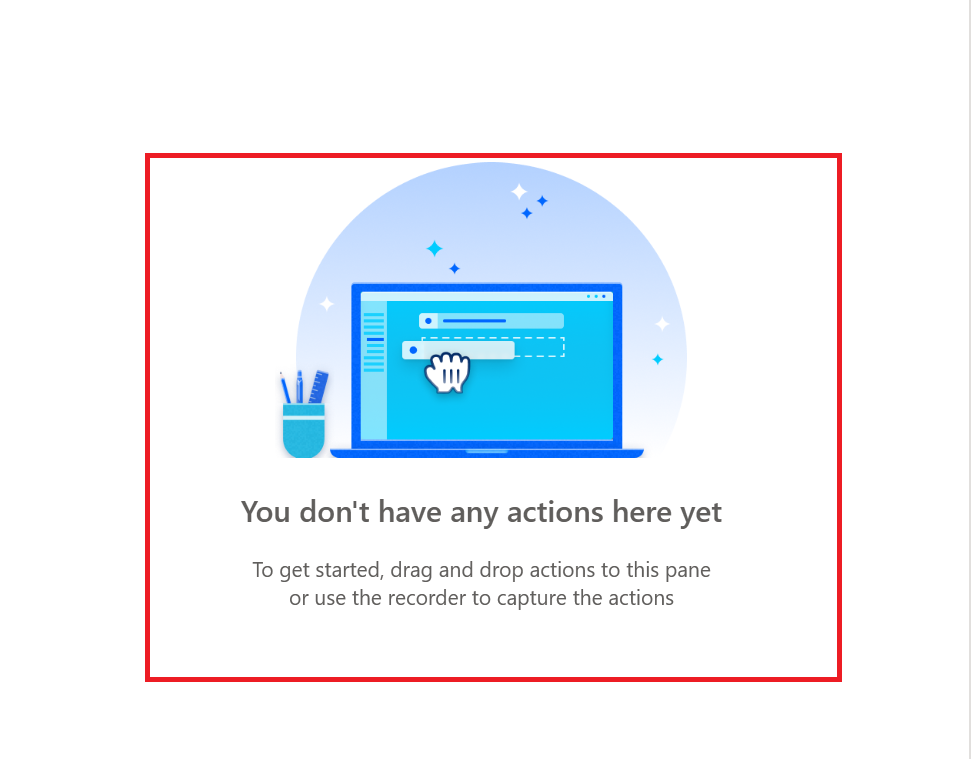
8. Workspace – Contains all the actions added to the process so far. Functions are
separated into tabs.
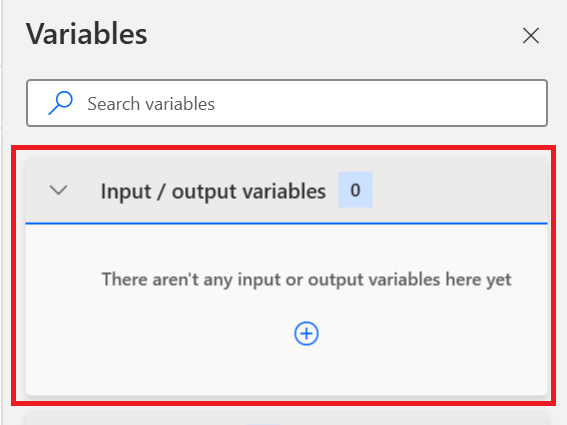
9. Input/output variables – Contains all the variables you created in the process.
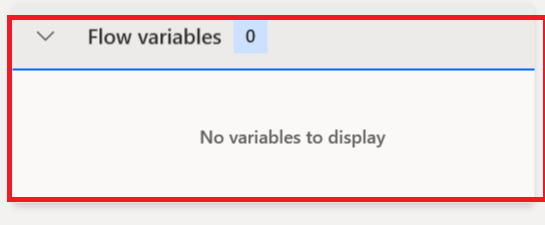
10. Flow variables – List of all variables used in the process.
Hope you learn something, Thanks for Reading 📖!
Happy Power365ing!
